Showing posts with label Terrain. Show all posts

Friday, 10 November 2017

Ancient trees

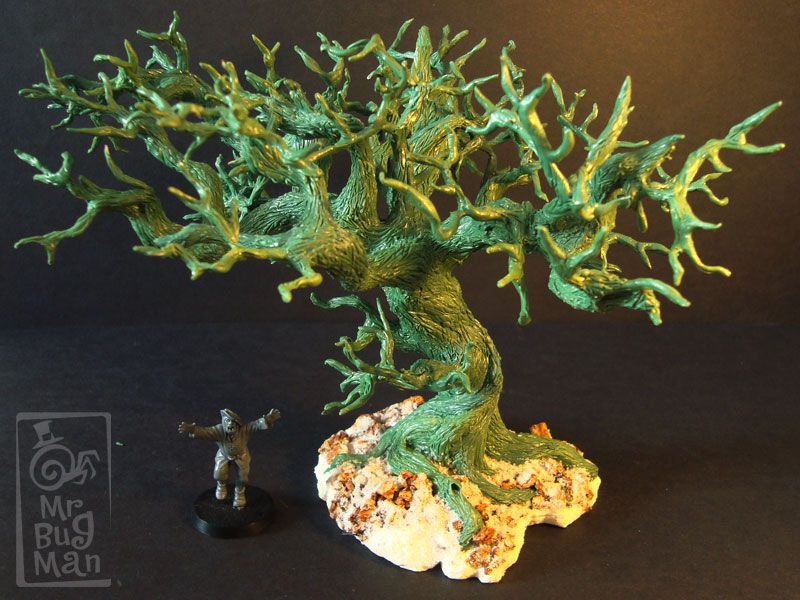
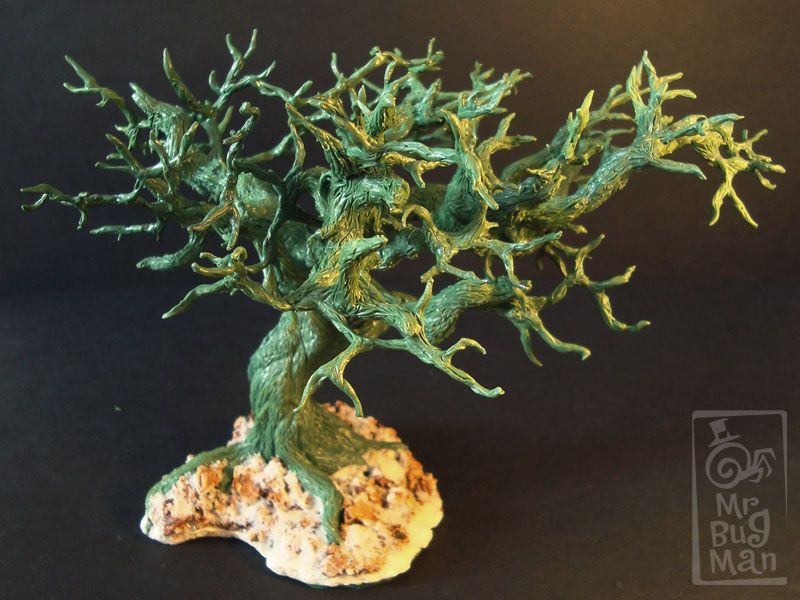
I have finished several miniatures but in the background I have been sculpting an ancient tree with all the putty leftovers.

I intend to sculpt 3 more.


Saturday, 3 October 2015

TUTORIAL ( How to make long tufts )

Long tufts can be challenging to do and time consuming if you need to do plenty of them. I have created a little assembly line for my tufts since I need lots of them for my upcoming terrain pieces. This process did speed up things and now I can do 100 or more a day, easy.

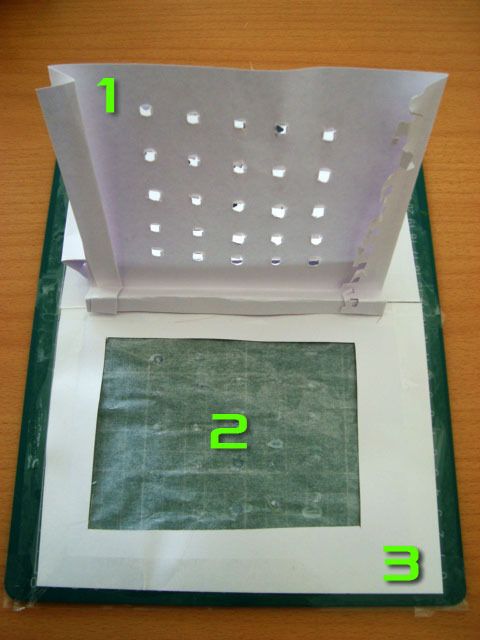
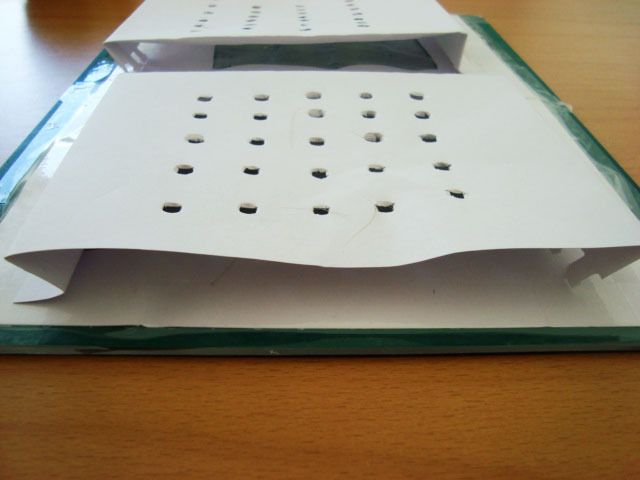
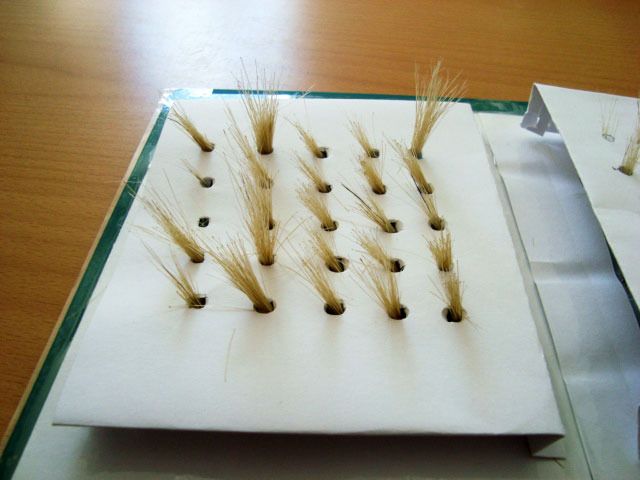
The main problem with long tufts is keeping them in place (standing up) while they dry... With a bit of paper you can do the following structure.


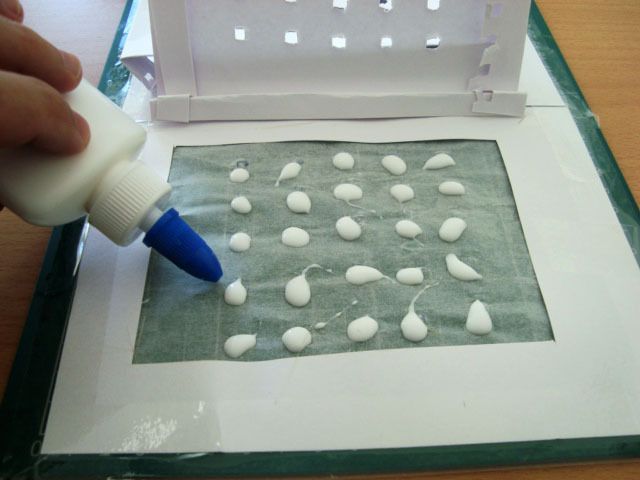
1 - Perforated paper with some folds so that the holes are away from the ground.
2 - Non adherent paper, this is where the glue goes
3 - Paper frame duck-taped to a movable surface since you want your little tuft factory mobile


I choose a big distance from the ground because I need big and medium tall tufts.


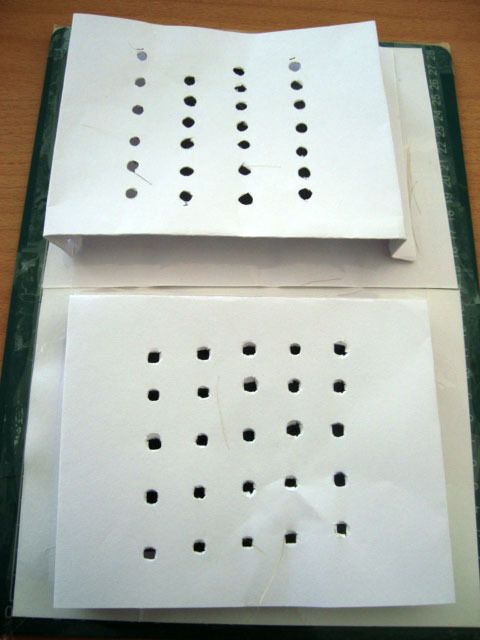
I created two assembly lines so that I can clear more units per day.


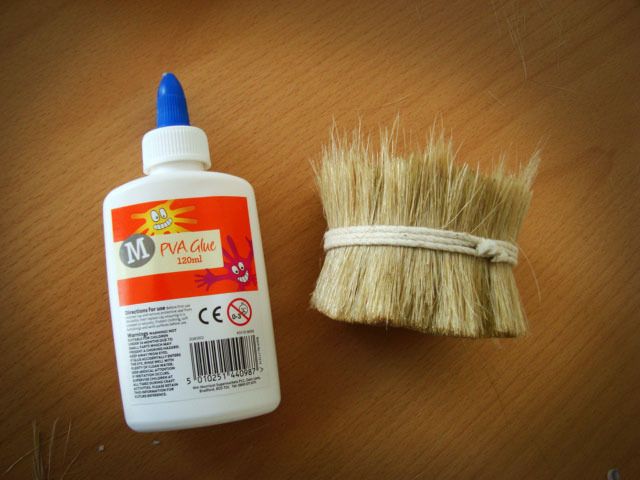
I use cheap PVA glue and some tall grass from any company really.


Lay down some glue blobs on the non adherent paper.


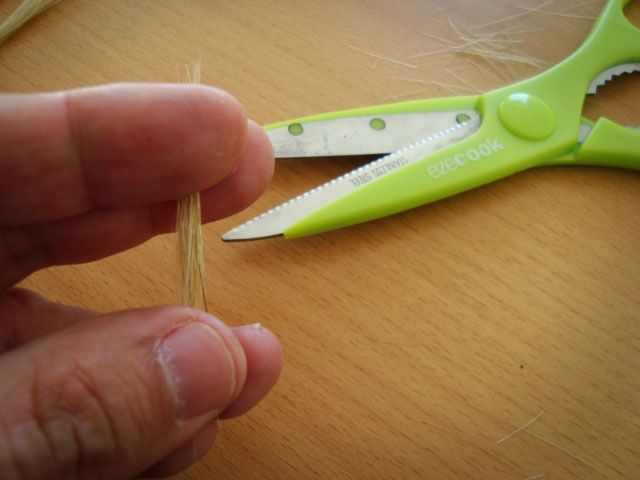
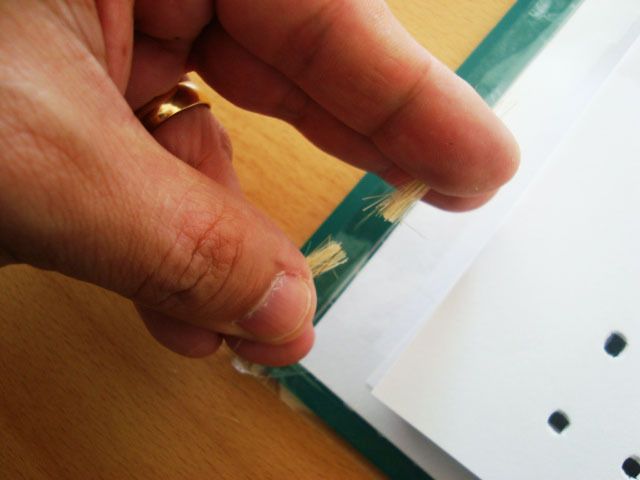
Grab the tall grass and make sure both extremities are secure. If you don't you will have loads of grass bits flying around everywhere.


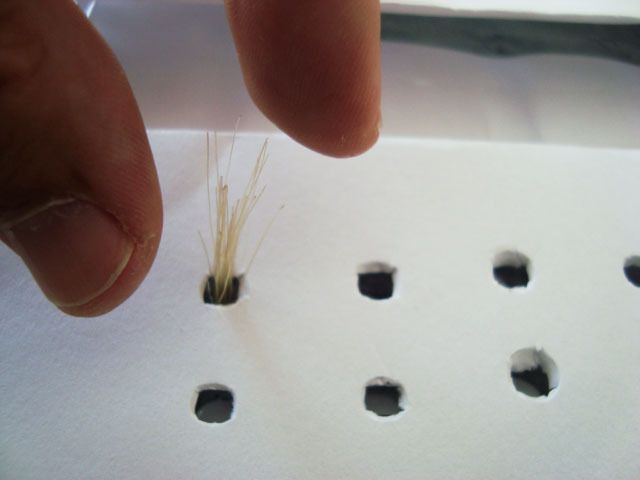
Insert tuft trough the hole and let it stick to the glue beneath it.


Make sure you do different lengths and volumes so that you can have more options when flocking your terrain.


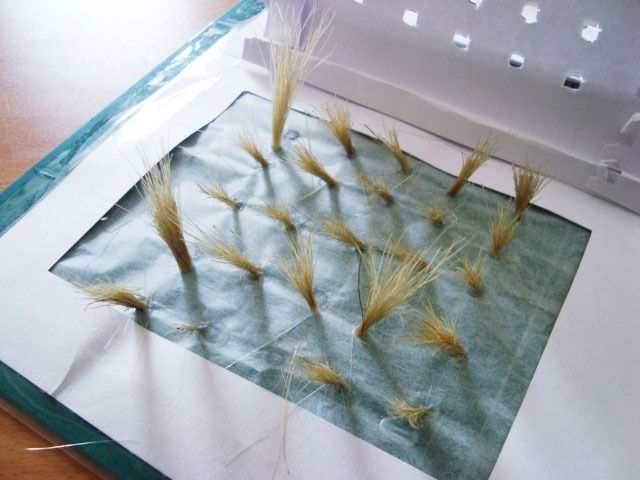
Once PVA is dried you lift the punched paper to reveal the results.


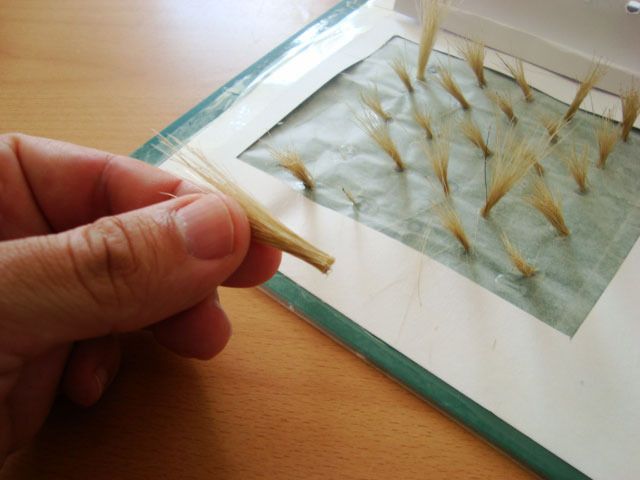
Thats it tuft done!


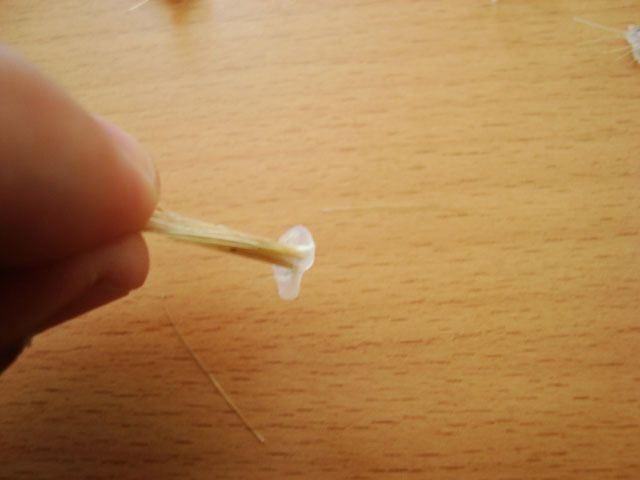
If some of them have to much glue on the base you make sure you cut off the extra.


Lots of different sizes and shapes.


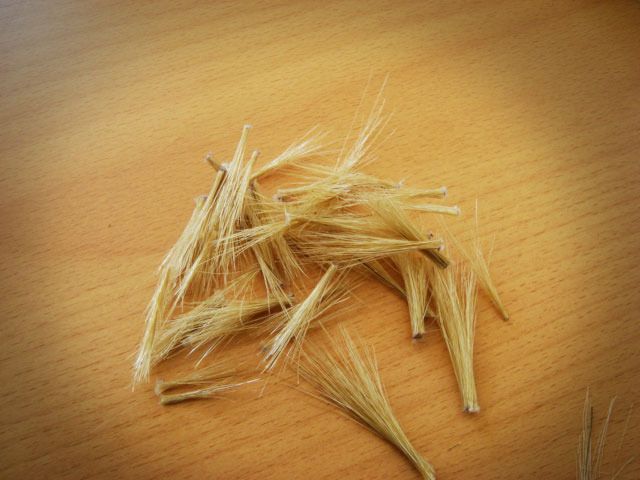
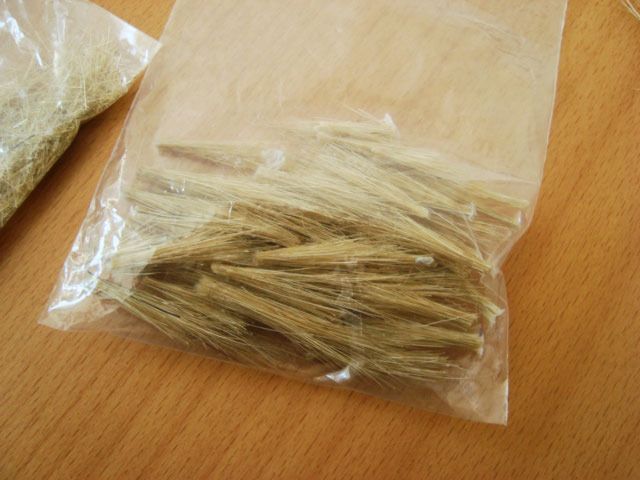
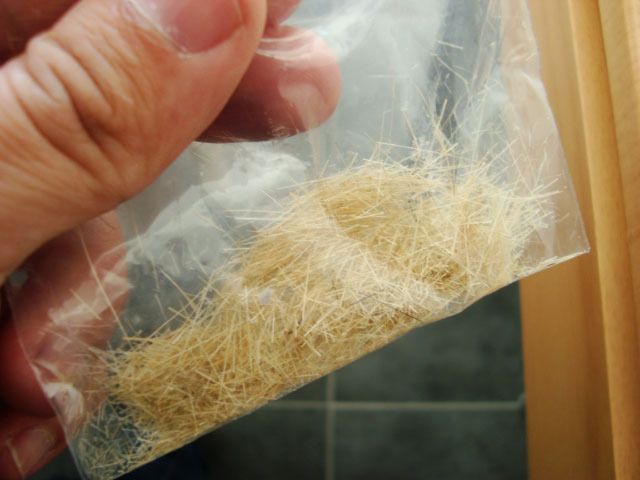
I keep them in a bag and the leftovers I also keep them in a bag so I can use them later on as scatter flock.


You can do plenty of tufts very fast this way.


Saturday, 26 September 2015

Manorhouse Workshop terrain review

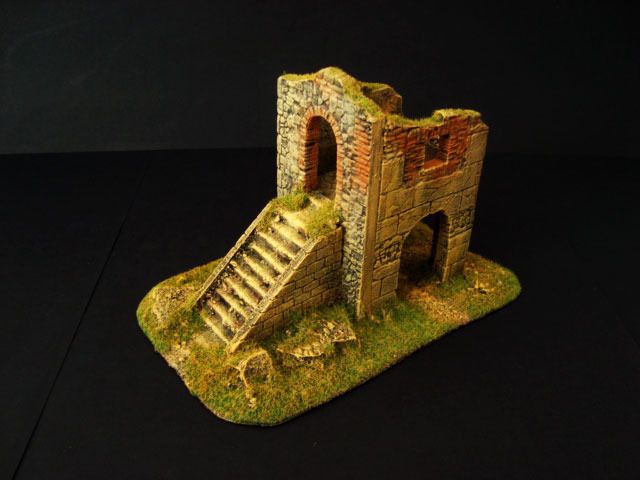
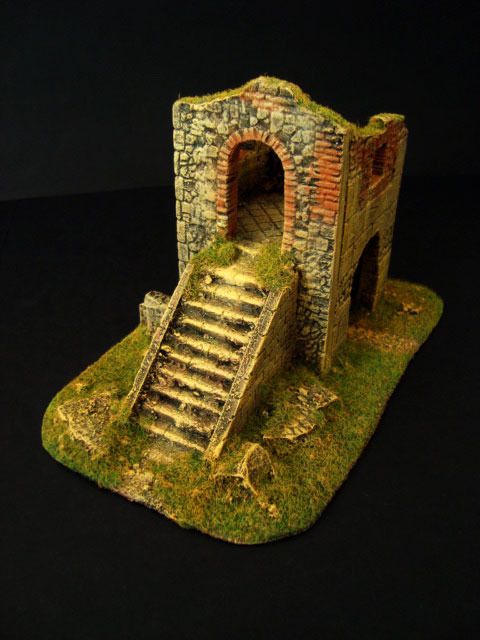
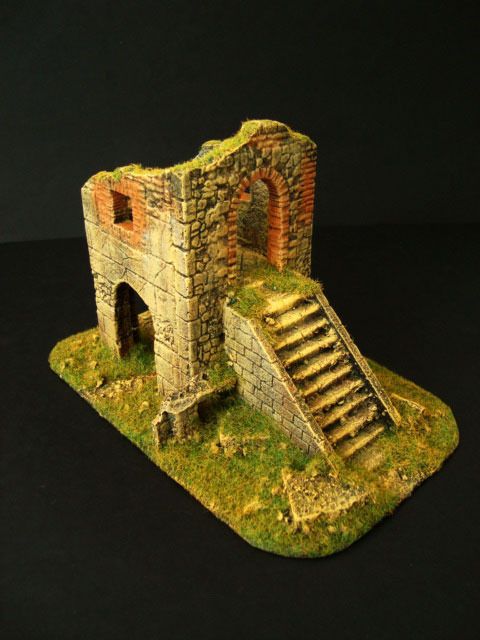
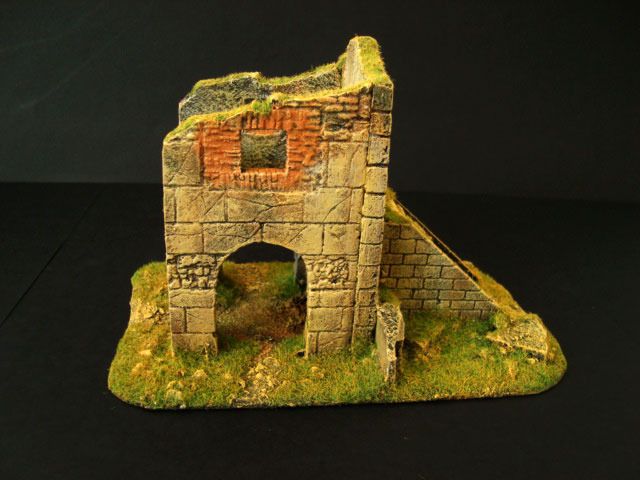
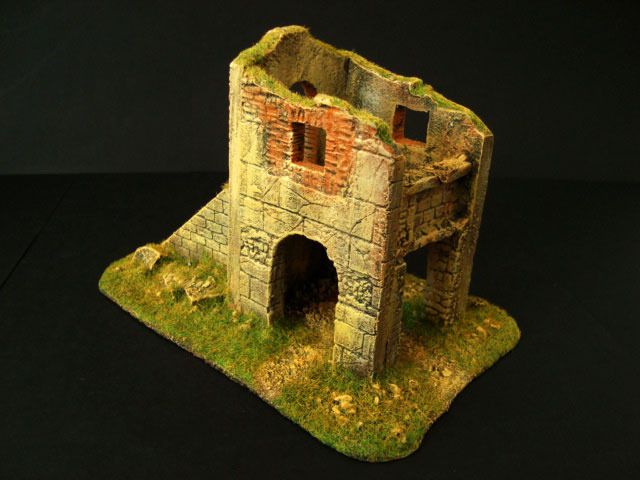
I have recently got some ruins from Manorhouse Workshop and I take this chance to review them here.

A few months ago I entered an online contest at one of my favorite blogs Tabletop Fix. You see it was their anniversary and they gave away lots of goodies to random followers, to my surprise I got the Manorhouse terrain bundle prize! I mean it was the best prize there in my opinion so i was Very lucky!

Manorhouse Workshop has some of the best terrain for wargaming that I have seen and I was always tempted to get me some of their villages and castles, for some reason I never got into it but this time I would have the pleasure to check first hand the quality of their terrain.

For starters you can check their projects and terrain at http://manorhouseworkshop.com/ they go from full castles to small villages and modular terrain, prepainted ruins and now they are developing cool projects with some flexible materials, there are lots of options for every table you can think of.
I have noticed their style is more realistic in comparison with other companies which makes this terrain good for both historical battles as well as fantasy ones.

My review will be on their Prepainted ruins since I got 3 of them now.

I got prompt emails from the owner to ask for my details and the communication was 5 stars. When I got my parcel I was surprised with its huge size and this was done for a good reason since the packaging was probably the best I have seen. This thing would probably endure the hardest of hazards and still be in one piece... so naturally all 3 pieces got to me in perfect conditions, no dents no nothing all perfect.

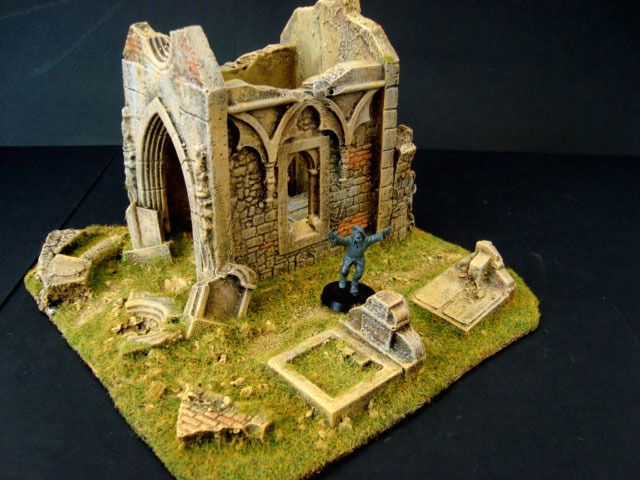
Prepainted Ruin 1


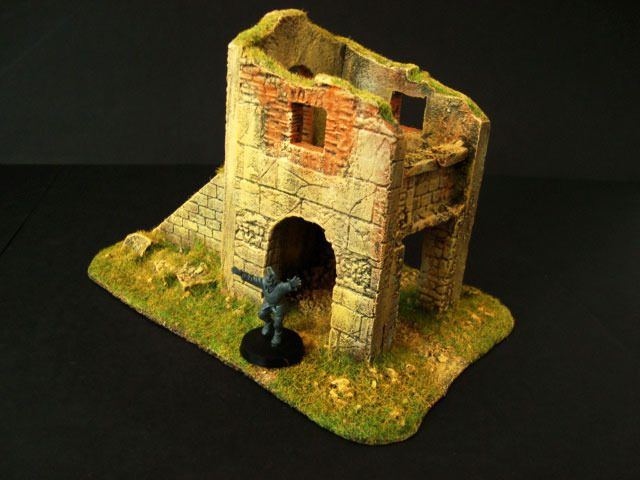
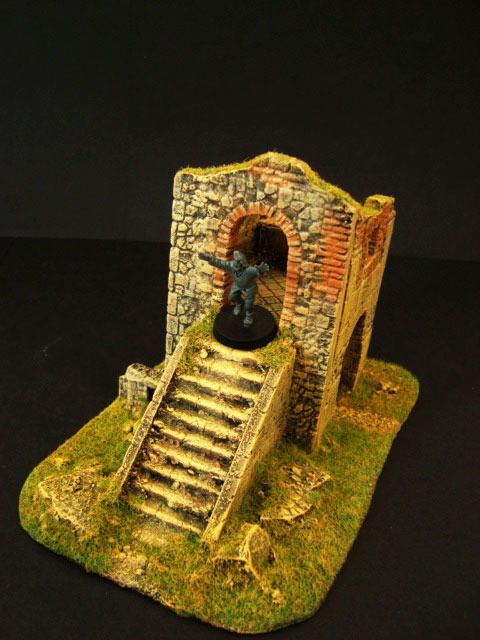
This was the smallest of the pieces and as you can see its totally painted and flocked.


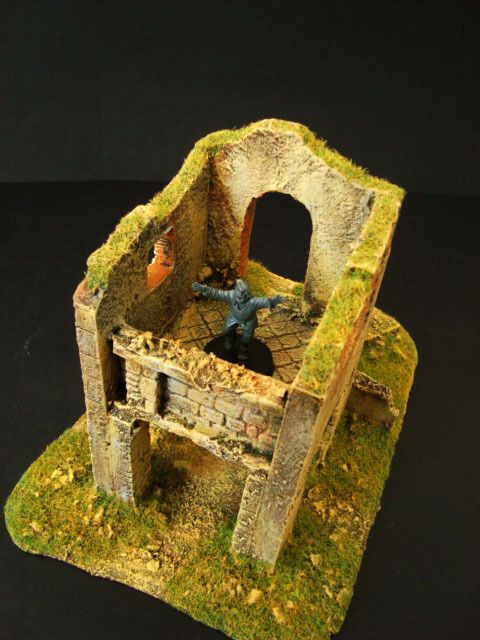
The interiors are as detailed as the exteriors ant the ruins are interesting enough that you can place minis inside or outside with lots of little line of sight points.


Some scale pictures with one 28mm figure, as you can see the smallest of the ruins is quite large in gaming therms, I mean its easily a medium/big piece of terrain.


You can place some shooting units on the second level inside this ruin which can make some cool dramatical games.


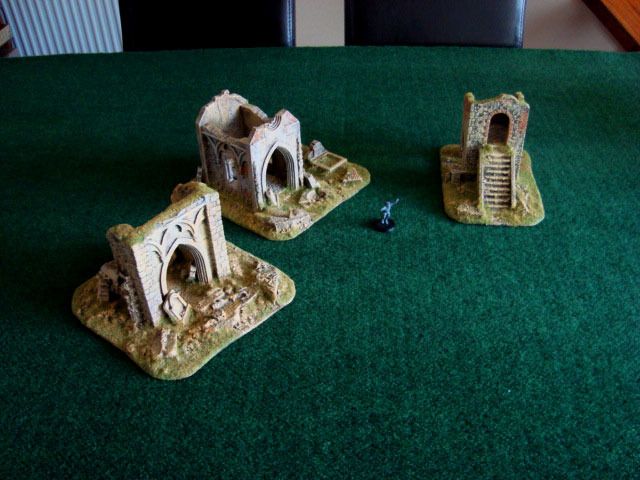
Prepainted Ruin 2


A considerably larger footprint than the previous one. Same flock style and colours are a perfect match.


Scale picture.


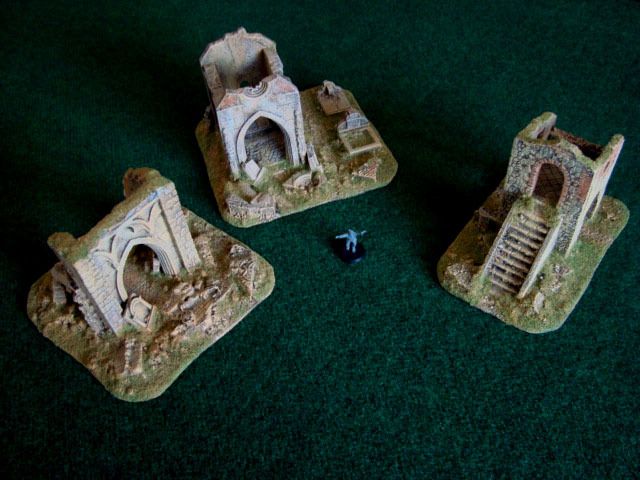
Prepainted Ruin 3

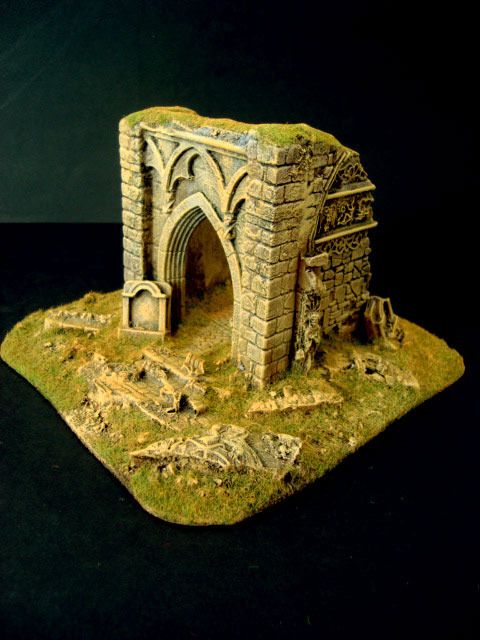
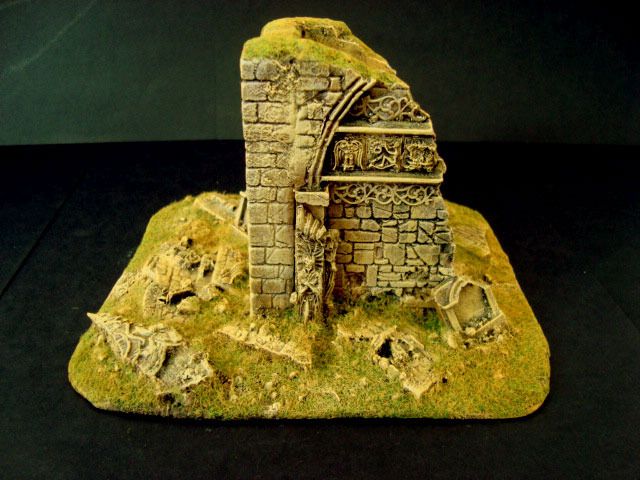
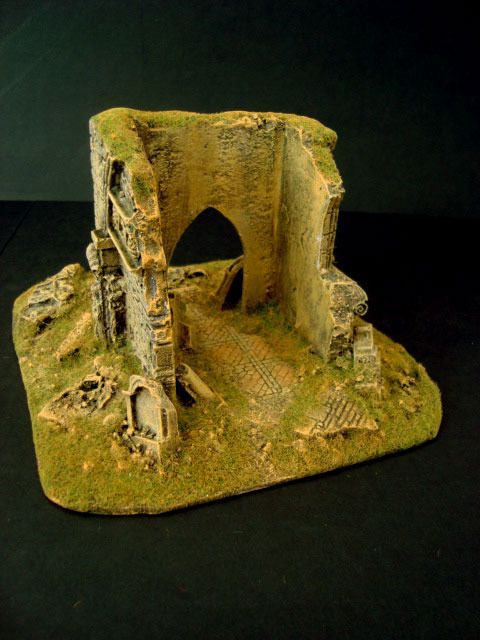
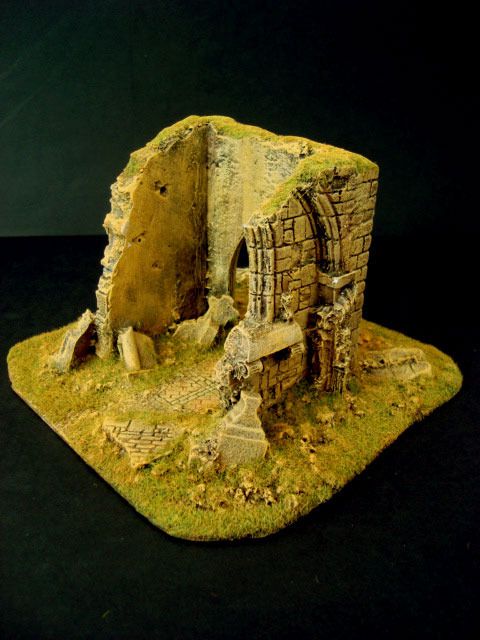
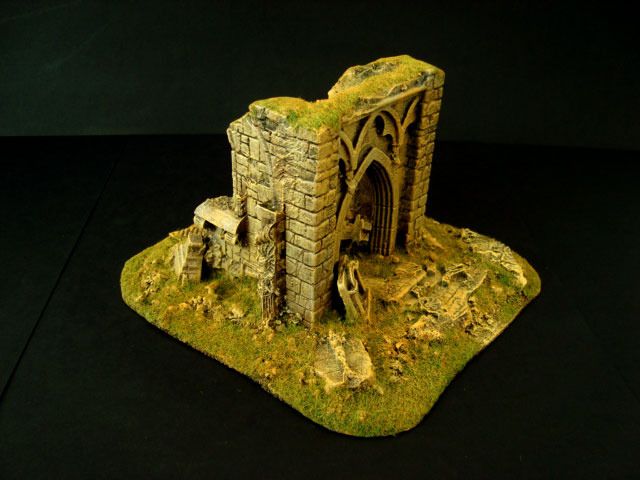
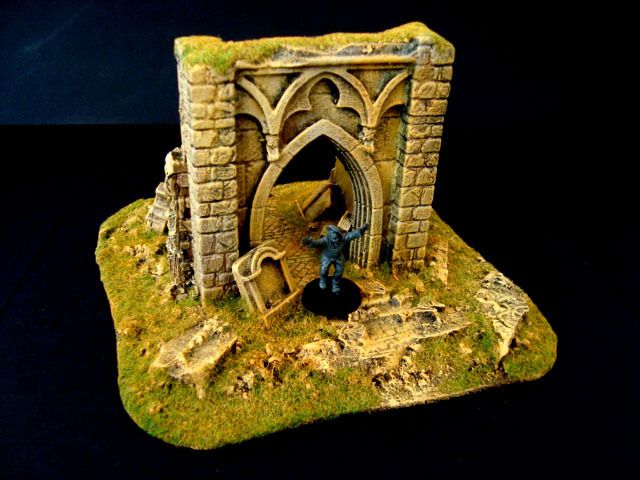
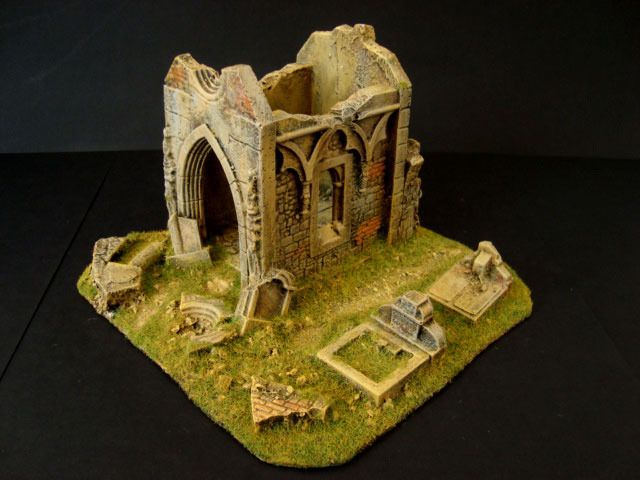
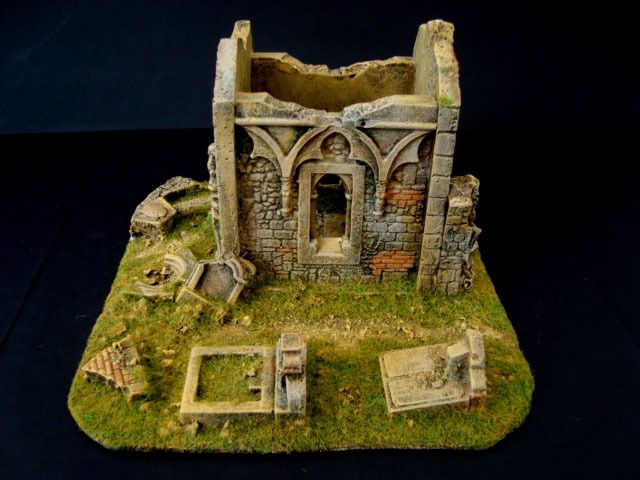
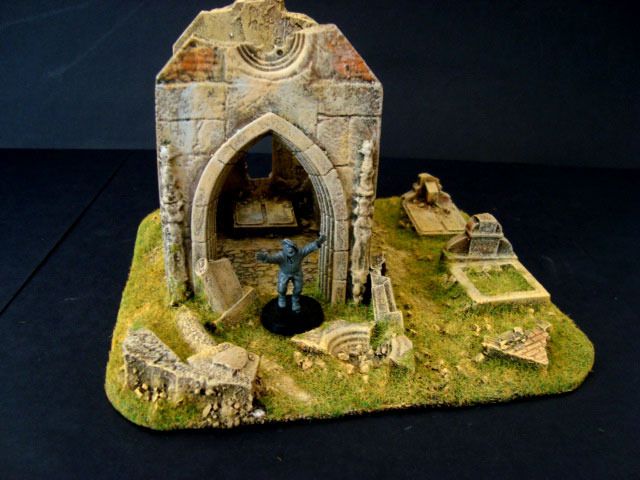
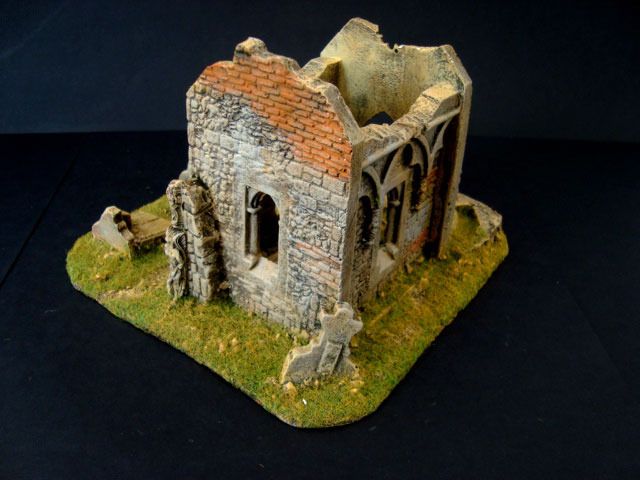
This ruin has a small cemetery attached to it which makes this like a little diorama on its own. Lots of  details on the graves too.


Take a look inside for a nice touch, great detailing.


Scale pictures.


All these ruins are quite detailed, much more than I was expecting on a prepainted terrain, but then again this is a Manorhouse Workshop product so quality is always going to be at the highest level.
The 3 pieces are a perfect complement to each other and the colours and flock are the same on the range making them very consistent and quite credible if you want to build a full table. 
The size of these pieces is quite big and decorated with funny angles and windows so expect lots of different line of sight angles to play with, this will make your battles a lot more interesting.


I must confess that Im a modeler first so the idea of prepainted was never on top of my list since I like to do my own thing my own way... Lets just say this product changed my mind towards terrain, I mean this is painted, flocked and ready straight from the box and the quality is above the most optimistic expectations. I think I will just invest in one of the largest pieces to finish up this collection and then I will have enough to fill half a gaming table with ruins. As a final touch I will add some of my own vegetation and flock to match my table because I'm that picky.


Sunday, 28 June 2015

Tutorial what to do with the dried greenstuff leftovers

When your sculpting a project most of the times there will be some Greenstuff leftovers. If its still fresh and you can sculpt something with it you can do plenty of things, little spikes, skulls, mushrooms, purity seals or scrolls etc.
But what to do when its not moldable anymore? Do you trash away the dried bits of Greenstuff?
I tend to use those for something else and again there are lots of things you can do with them, heres one.

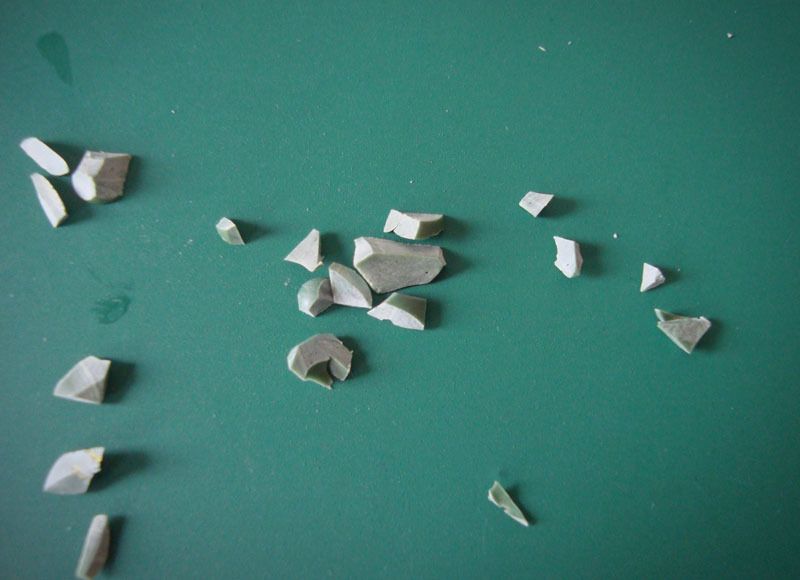
Sharp rocks

Not much of a tutorial and more just an idea for you guys.
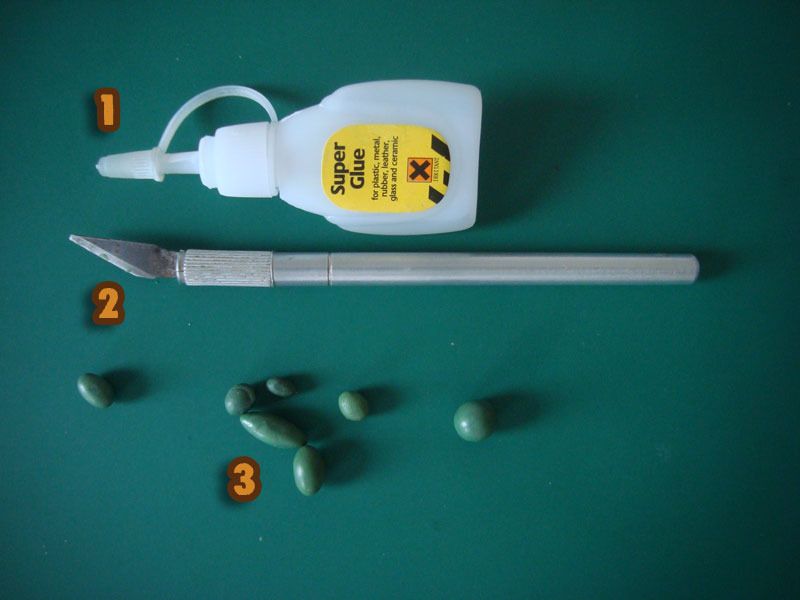
Greenstuff when dried is very easy to cut so bring in your sharp blades.


1- Super glue or PVA glue
2- Blade
3- Dried bits of Greenstuff


Cut random sizes and shapes, make sure they look very sharp.


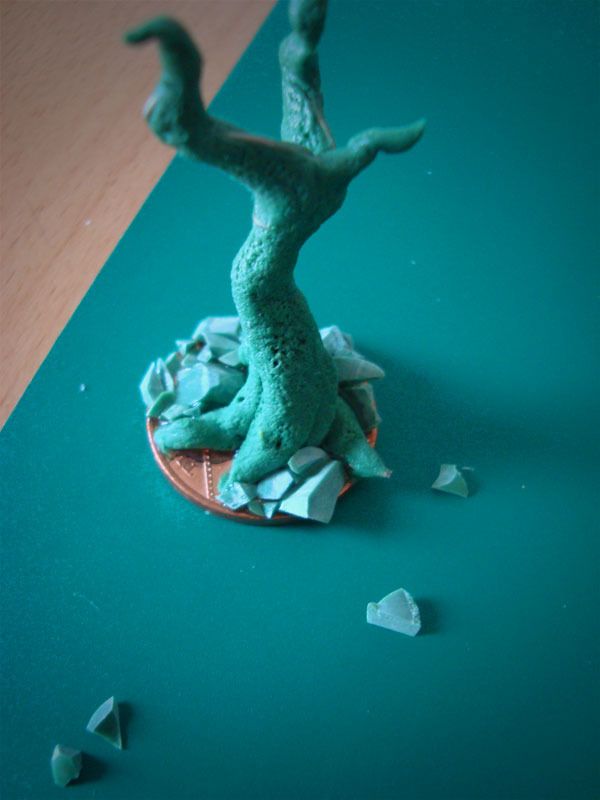
Glue the bigger stones first and then fill the gaps with the smaller ones.


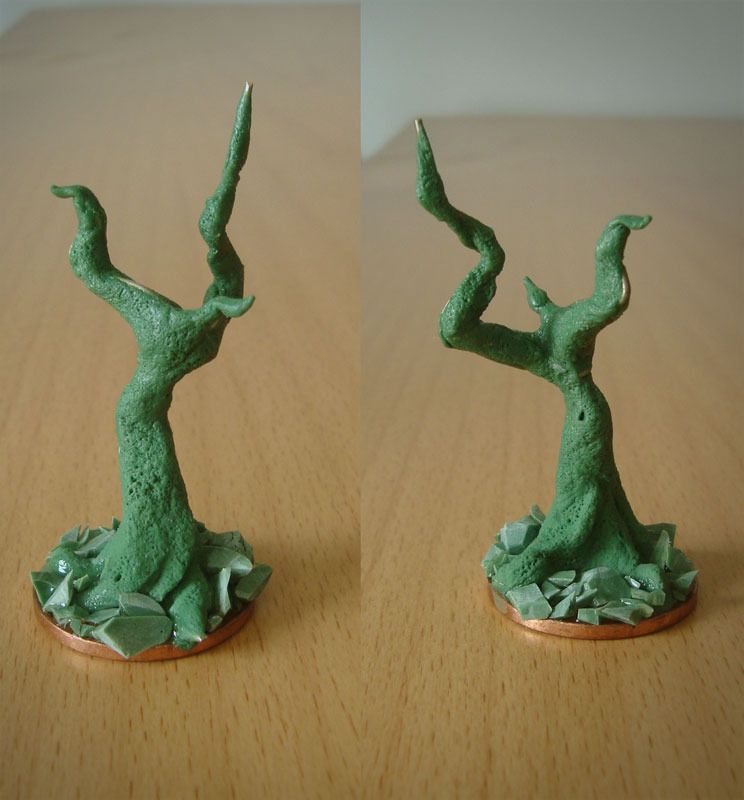
Job done.

So why not just use cork? Apart from being expensive and your using free bits of Greenstuff that you normally throw away, the look is very different since cork looks like a less sharp type of rock. You will also struggle to get the fine sharp tips on cork.
Also take this opportunity to experiment, instead of rocks you can cut spear heads, spiked armour and all sorts of sharp things for your models. Again have fun.


Saturday, 20 June 2015

Tutorial Sculpting Texture

This tutorial will be about achieving some interesting textures that can be applied to many different subjects. Again it will be a really simple tutorial and easy to follow so that anyone can achieve the results fast with no hassle regardless of experience in sculpting.

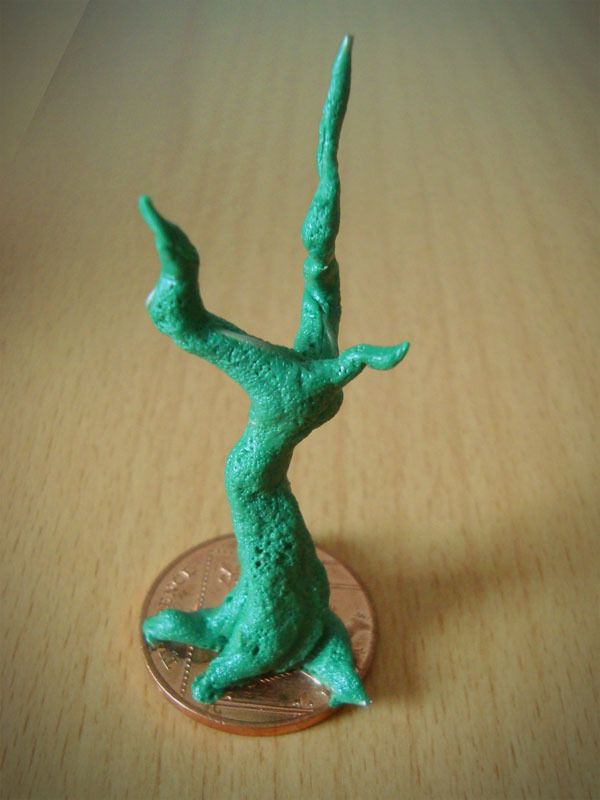
The subject will be some kind of swamp tree with a very mossy and rough texture on the bark, so bring in your greenstuff and lets get this project done.


Sculpting rough textures


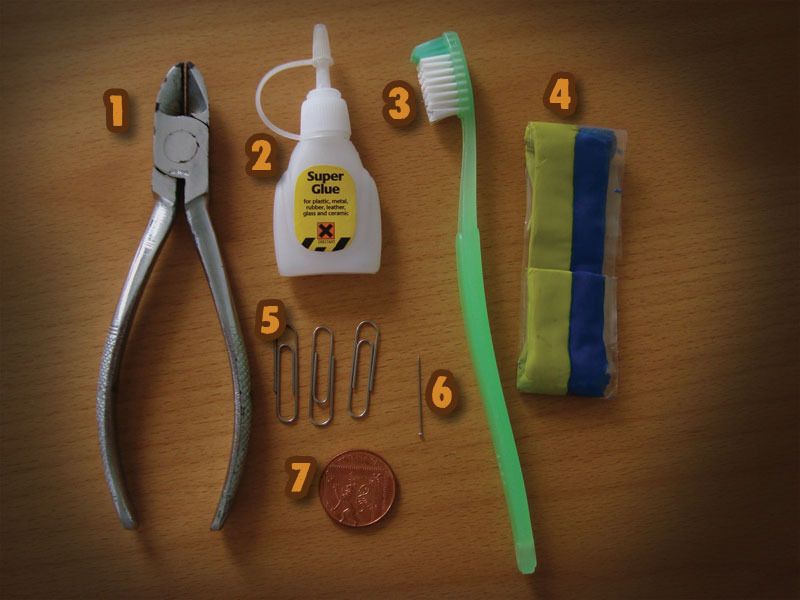
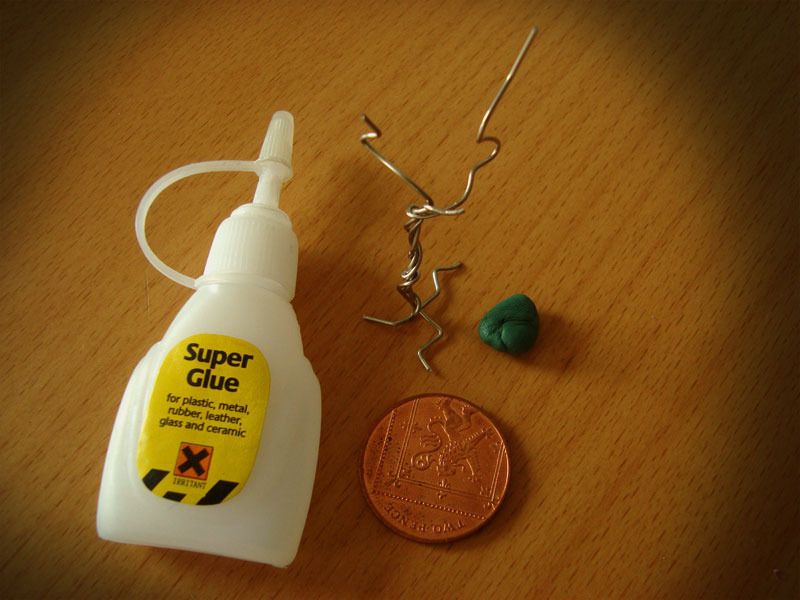
You will need the following.


  1. Wire cutter
  2. Cheap super glue
  3. Old toothbrush 
  4. Greenstuff
  5. Paper clips
  6. Needle
  7. A base for your little tree branch, I used a coin
All sorted so lets play with some paperclips now.


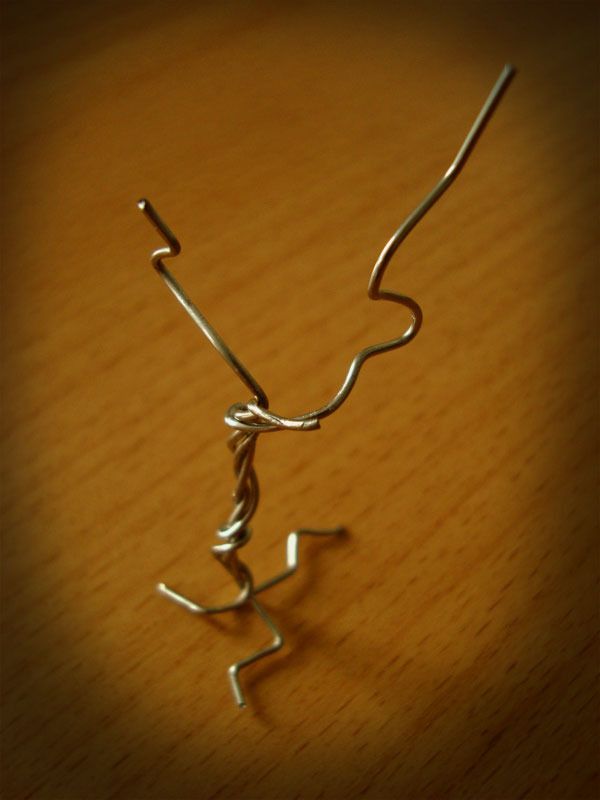
Bend and cut the clips to create the desired shape for our small tree, depending on how big and complex you want the tree you will need more or less paper clips\wires. Since my aim for this tutorial is to display the texture work I just made a really small young tree.

Lets base it now so we can have a good sturdy surface to work on.


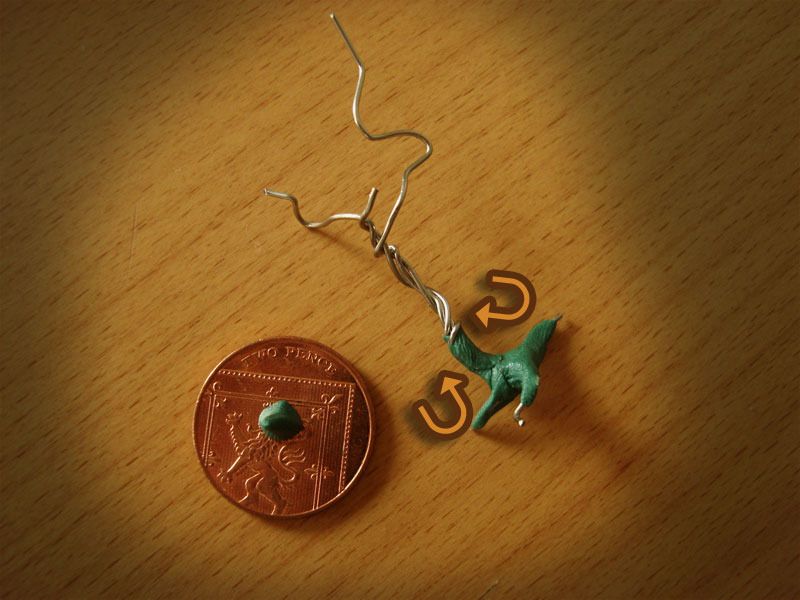
Mix just a little bit of Greenstuff...


Apply a little ball to the coin and use the rest to do some roots, this is really rough stuff so use your fingers and do not worry to much if your fingermarks are printed on the roots.


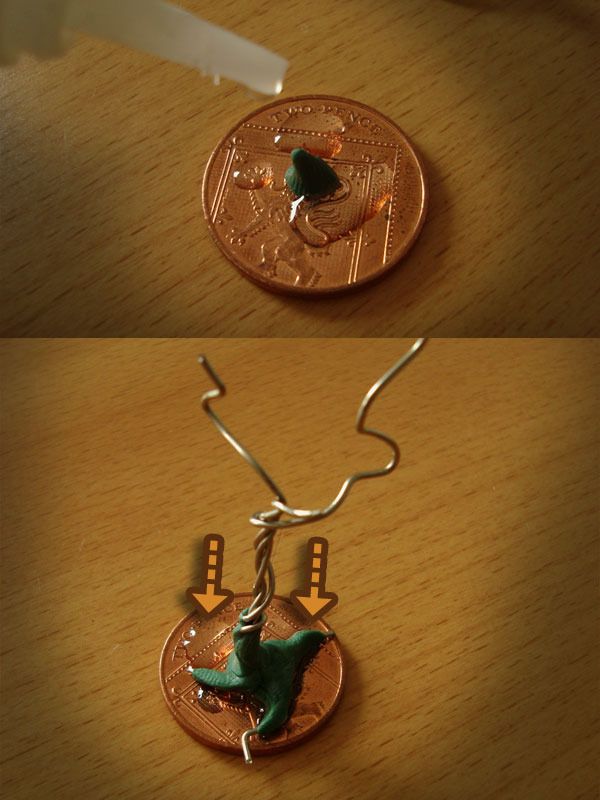
Once your happy with the roots and with the Greenstuff still fresh apply Superglue to join the tree to the base. The bound created by the mix of fresh Greenstuff and Superglue is VERY strong. Let the glue dry before going for the next step.


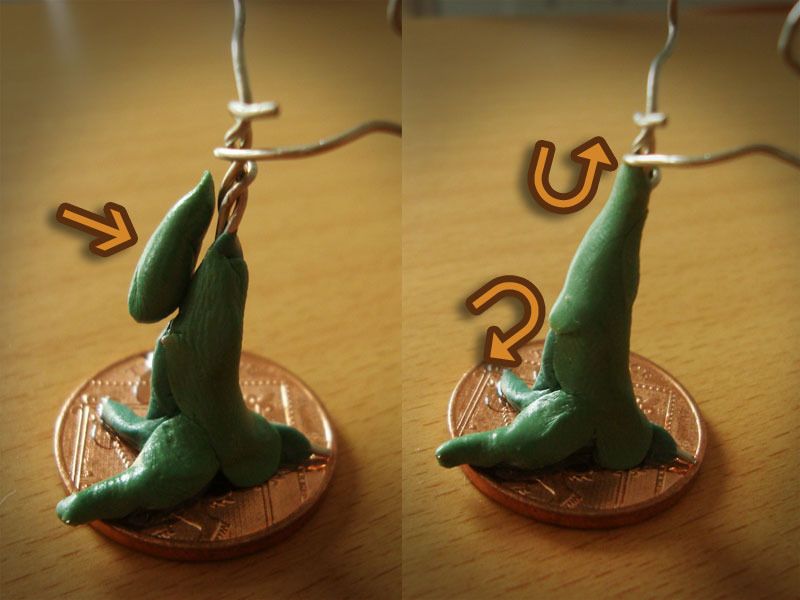
Mix more Greenstuff  and break it in small manageable blobs, these will be your tree curves.


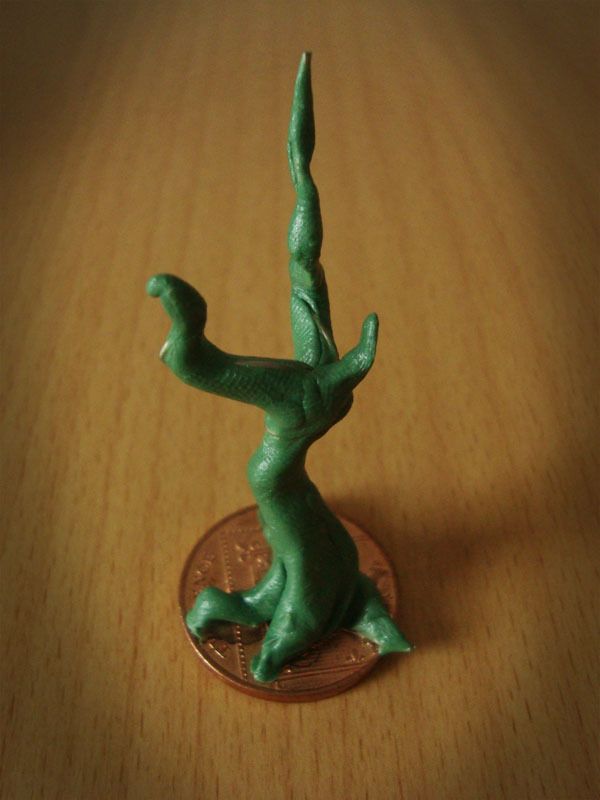
Bit by bit start bulking your tree, as you can notice if you just work one blob at the time you will have more control on the final shape. Note that all of this is just sculpted using your fingers so no need for other tools, we want a rough finish since its a tree after all.


Horrible results so far, hey? Do not despair and lets have fun now.


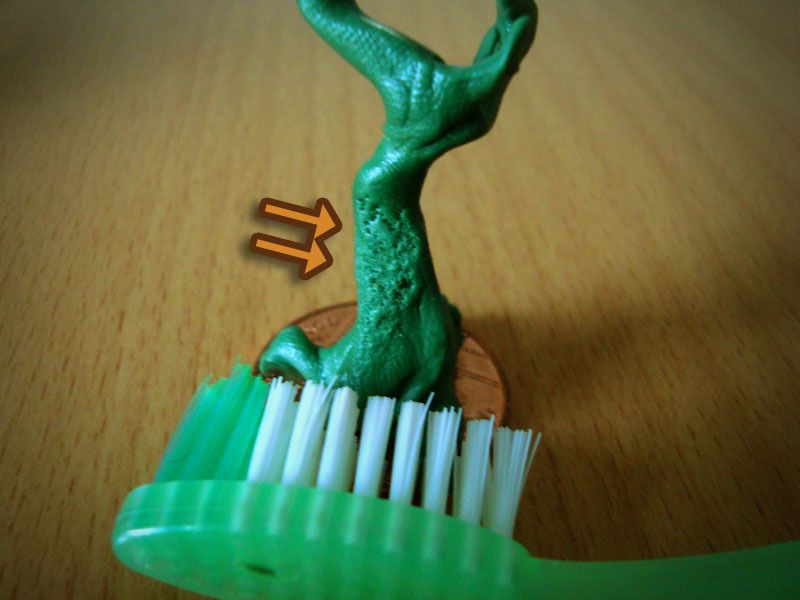
Bring in your secret weapon the mighty toothbrush and poke the Greenstuff! Experiment here, you will see that small jabs will create less deep indentations and vice versa. This picture displays just 2 pokes, one deep and a more subtle one.


Death by 100 pokes and your texture is almost done. Lets just add the final touch.


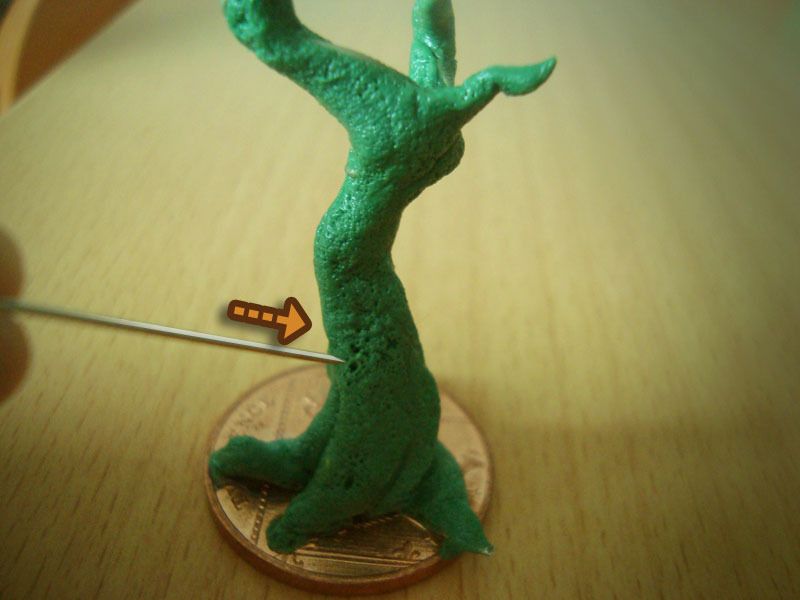
To make the final texture more eye catching use a fine needle and poke the putty again, this time some deep holes. Remember less is more so do not create to many holes.


All done! Simple and easy! You can make a small tree like this in 1 hour. After that you can sculpt more stuff into it like mushrooms, lianas etc but thats for another day. Actually I did a small mushroom tut here Mushi tutorial

So I hope you enjoyed this texture, it has many applications, you can use it to create soil, ugly tree bark or even a strange creature rough skin! Have fun and share your results and ideas.

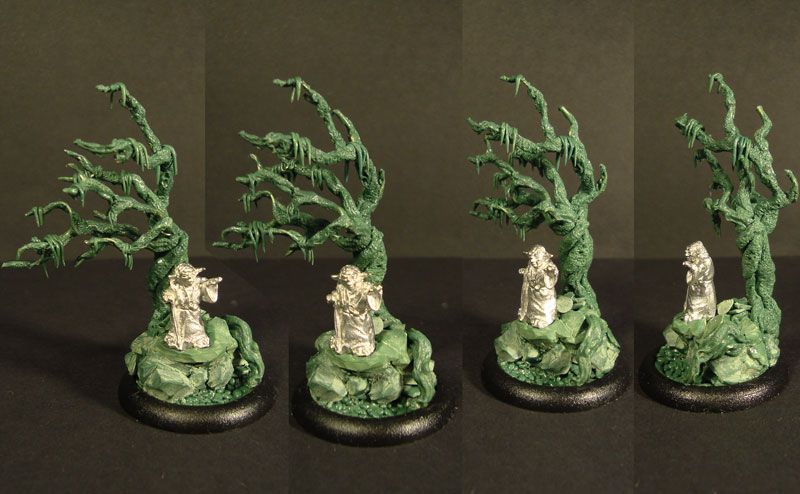
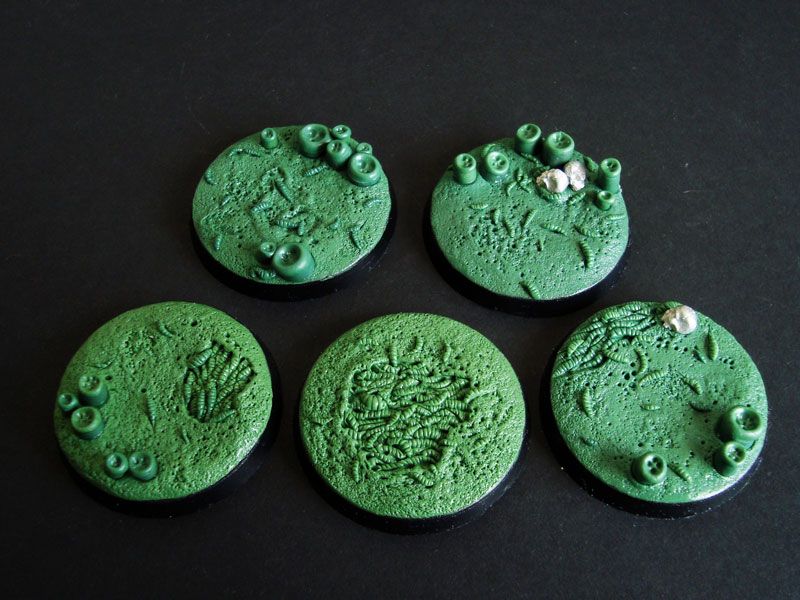
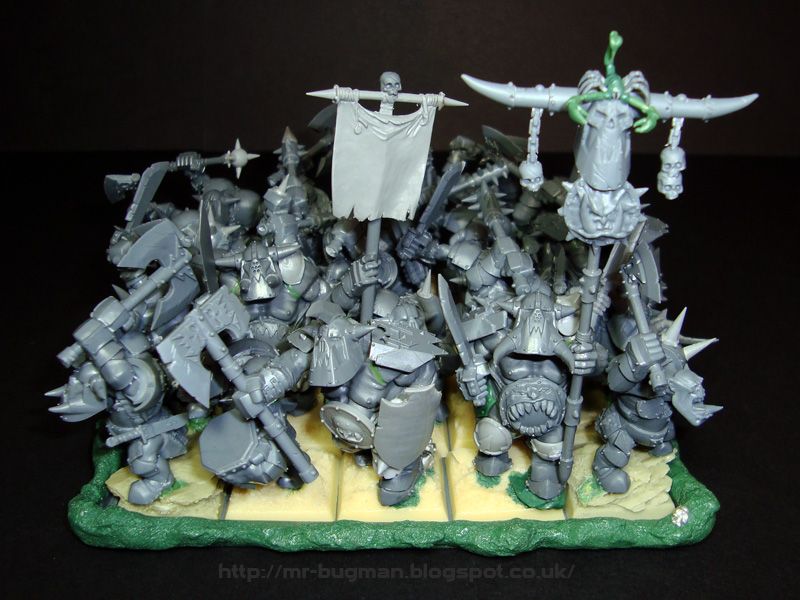
Some examples of how I use this texture.

Yoda tree


Soil for bases


Movement trays


Cheers.