Showing posts with label Tutorial. Show all posts

Saturday, 28 November 2015

Sculpting a Whip in Greenstuff

Hi guys,

I have just finished another little greestuff tutorial and this time we will sculpt a Whip. These things are useful if your looking to add some spice to your chariot crew or just a beast handler, so lets pick up a paper clip and some greenstuff.


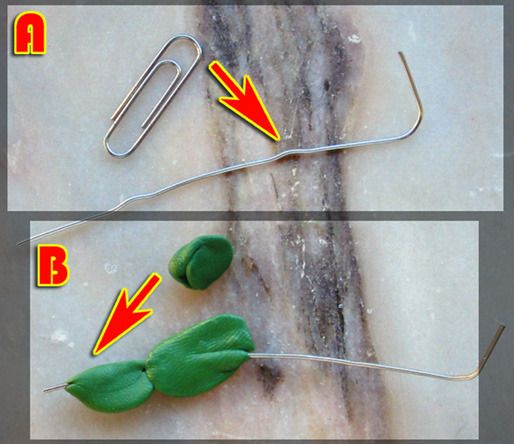
Just straighten the Clip and cover it with greenstuff, try to make it as thin as possible because this will get fatter on the next stage. The reason we do this is because the putty will stick better to putty rather than to the metal. You should end up with something like this.


Let it cure for 2.5 hours instead of the normal 4 so its still a bit sticky and ideal to take the next layer.
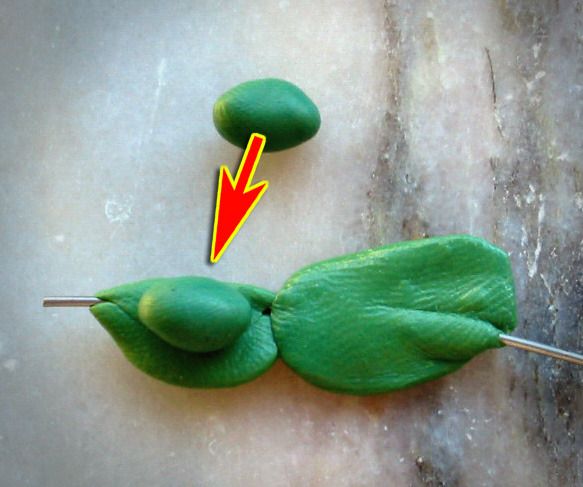
So now roll a really thin huge sausage of fresh putty.
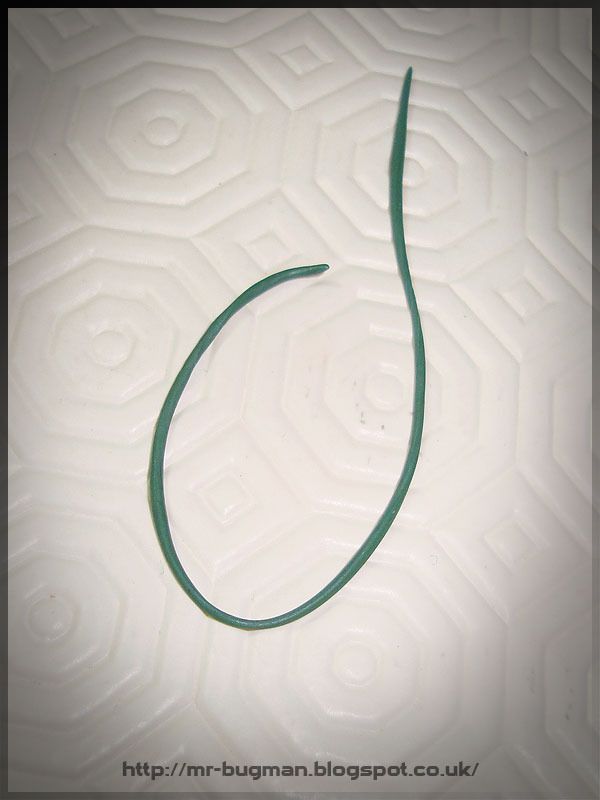

Start with the bottom of the paper clip but leave that extremely free of putty because this will be the bit that you will stick to your mini.


The fun begins now. Pick your favorite flat sculpting tool and grab the other end of the paper clip.
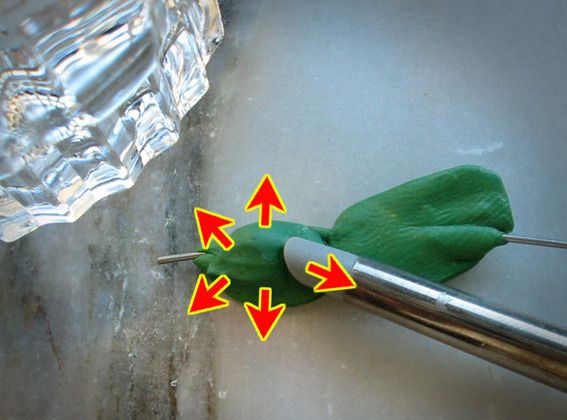
With your fingers on the clip you slowly rotate the cured sausage and with your sculpting tool you tap, tap, tap the fresh greenstuff into place. Notice that the fresh sausage is now flat as you tap it into place. Keep on tapping!


As you approach the end of the Whip its good to make your fresh sausage thiner and thiner because it looks better. Grab the clip with a tool to help with the sculpting of the final tip of the Whip.


On the very end of the Whip I wanted some kind of metal thing so I added some miniscule rivets to it.
I will explain riveting with greenstuff later on in this tutorial. Remember do your riveting with fresh putty rivets on top of fresh greenstuff surface so that the bound is stronger and you have more control.


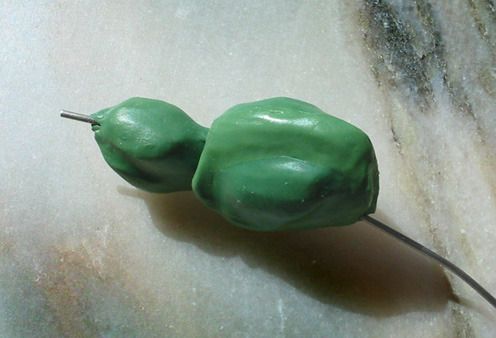
Let it fully dry overnight. Next day things should look like this unless you sculpted under the influence of a good whisky.


Now pick up your mini and drill a hole on the hand that will hold the Whip. My subject is a Orc Bully.


Now you can bend the, covered with greenstuff, paperclip at the angles you choose. I went with some dynamic Indiana Jones kind of angles. When your happy with it you can superglue the clip to the drilled hole but just leave a gap so you can sculpt some more details.


Almost there. Lets finish up the Whip hand grip.
Mix a small bit of putty and apply it to the gap.


Pick a sculpting tool and tap it into place so its stuck to the mini in a way that will not move.


Still looks very soft but because now the putty its stuck to the mini we will use a sharp flat tool to sharpen those edges. First pull it outside then push inside do it many times until you have something sharp.


Only some riveting left to do now, be quick because you want to set them while the surface is still sticky. So make some tiny balls of greenstuf (1), then push them into place(2) and that will make them flat and big. Finally with the fine tip of a sculpting tool reduce the size of the rivet by making circular movements on the edges of the rivet (3).


You can see how the rivets are now smaller and blended into the surface.
Job done.


Pick another bottle of Whisky and watch the putty dry...


Saturday, 3 October 2015

TUTORIAL ( How to make long tufts )

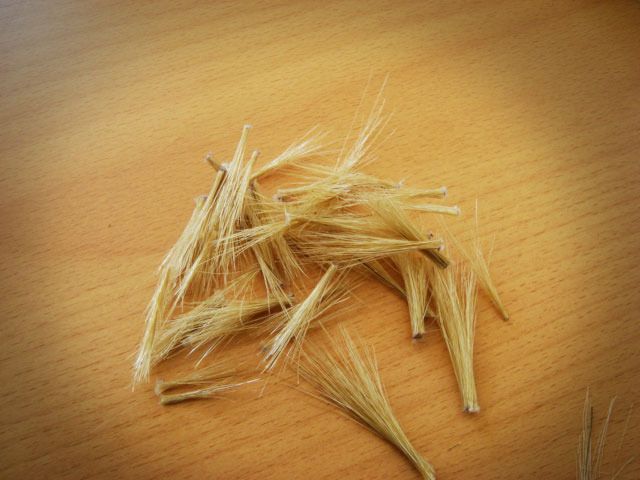
Long tufts can be challenging to do and time consuming if you need to do plenty of them. I have created a little assembly line for my tufts since I need lots of them for my upcoming terrain pieces. This process did speed up things and now I can do 100 or more a day, easy.

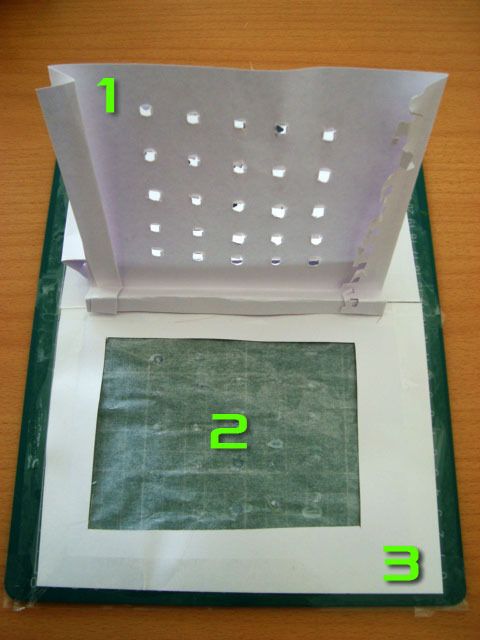
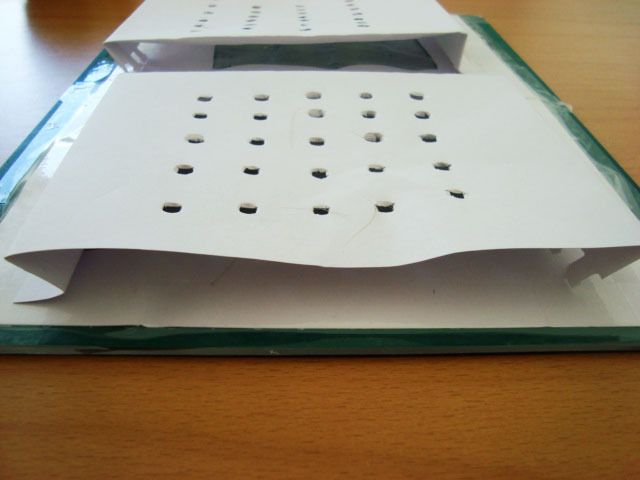
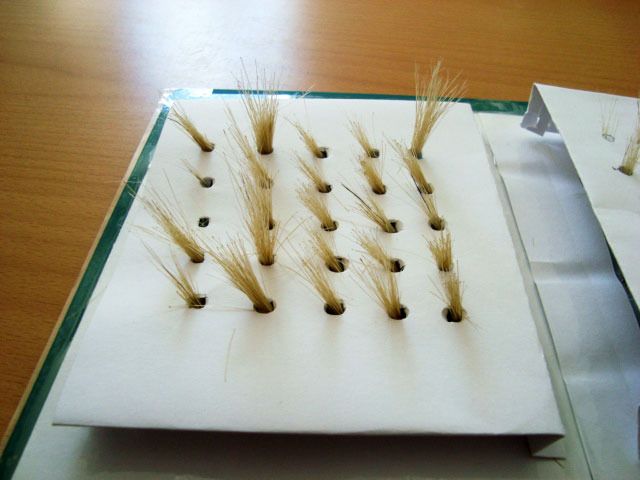
The main problem with long tufts is keeping them in place (standing up) while they dry... With a bit of paper you can do the following structure.

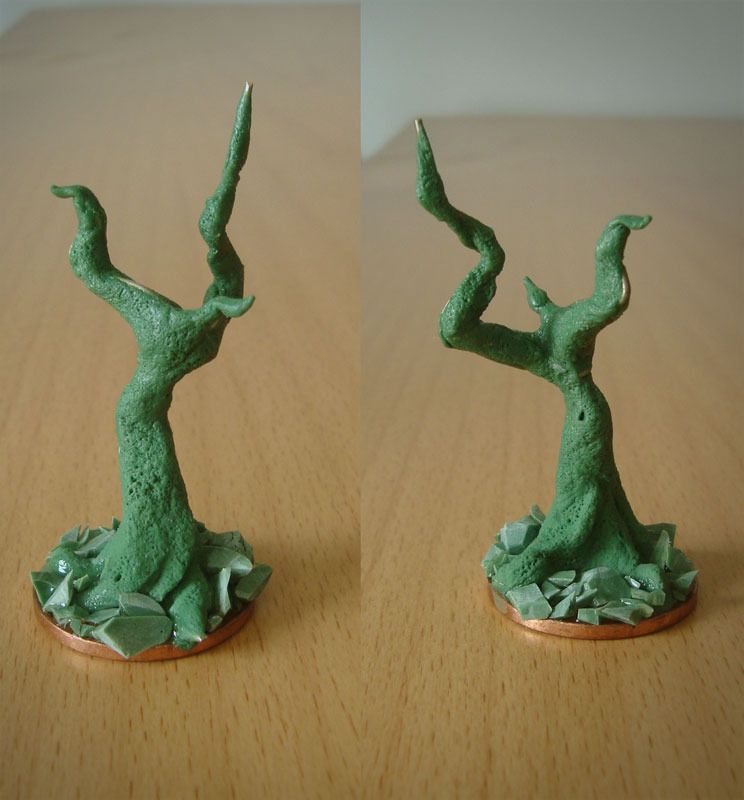
1 - Perforated paper with some folds so that the holes are away from the ground.
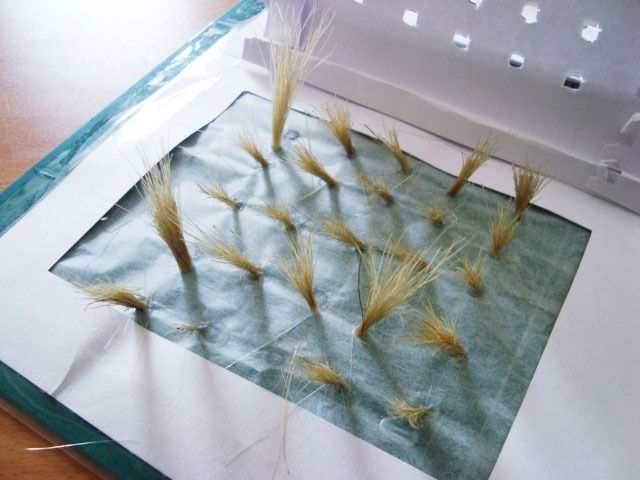
2 - Non adherent paper, this is where the glue goes
3 - Paper frame duck-taped to a movable surface since you want your little tuft factory mobile


I choose a big distance from the ground because I need big and medium tall tufts.


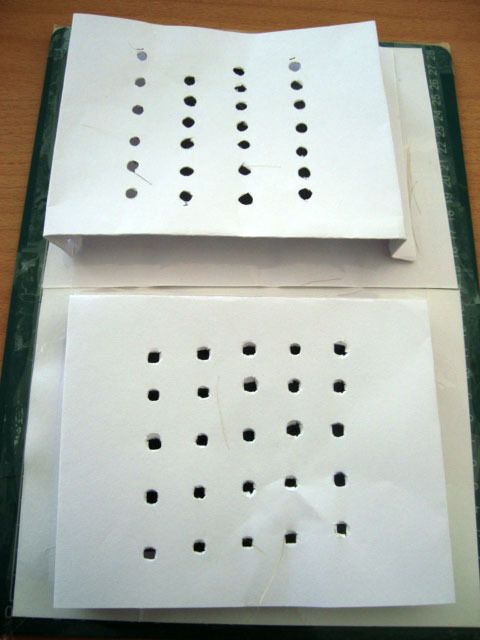
I created two assembly lines so that I can clear more units per day.


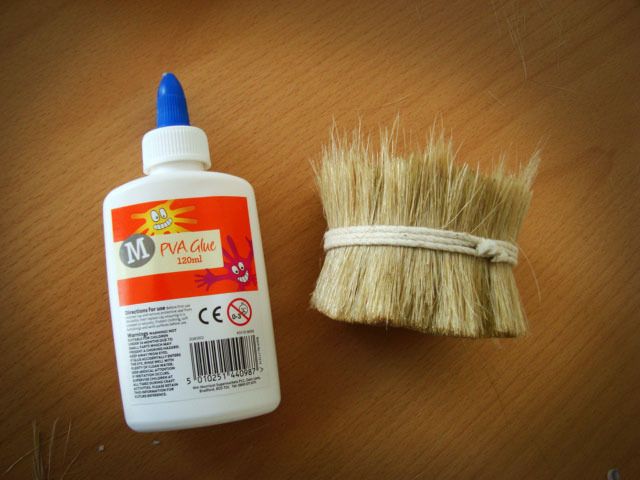
I use cheap PVA glue and some tall grass from any company really.


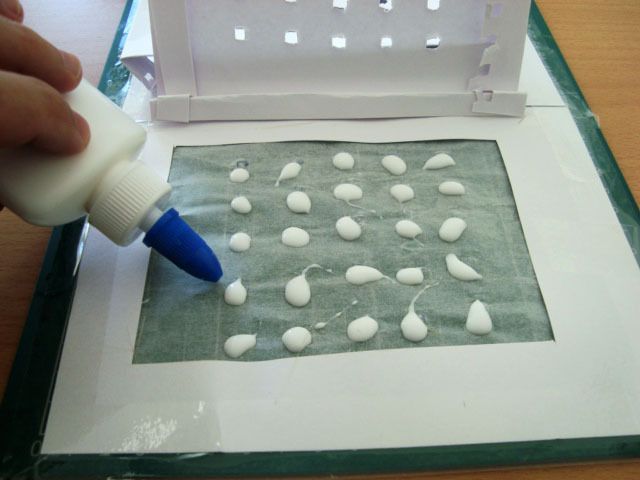
Lay down some glue blobs on the non adherent paper.


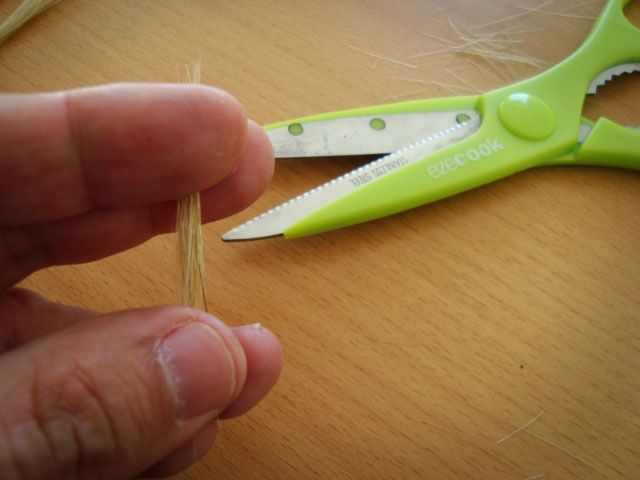
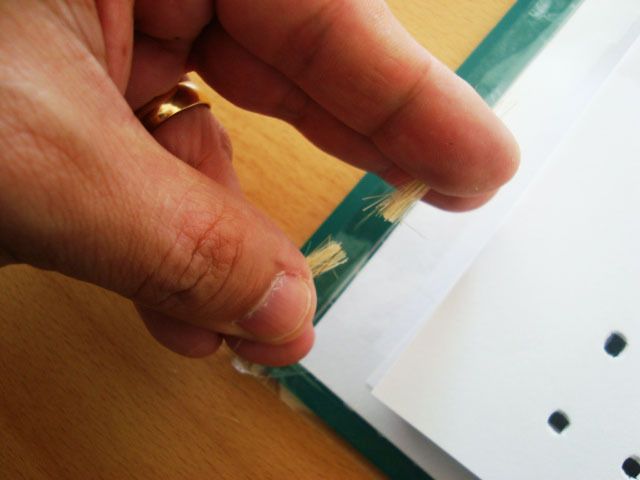
Grab the tall grass and make sure both extremities are secure. If you don't you will have loads of grass bits flying around everywhere.


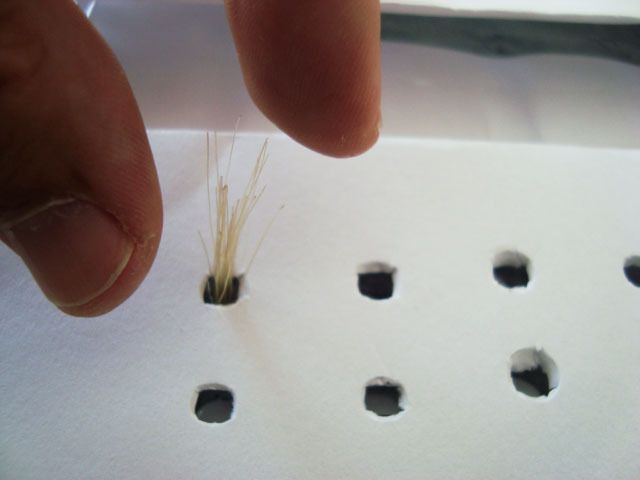
Insert tuft trough the hole and let it stick to the glue beneath it.


Make sure you do different lengths and volumes so that you can have more options when flocking your terrain.


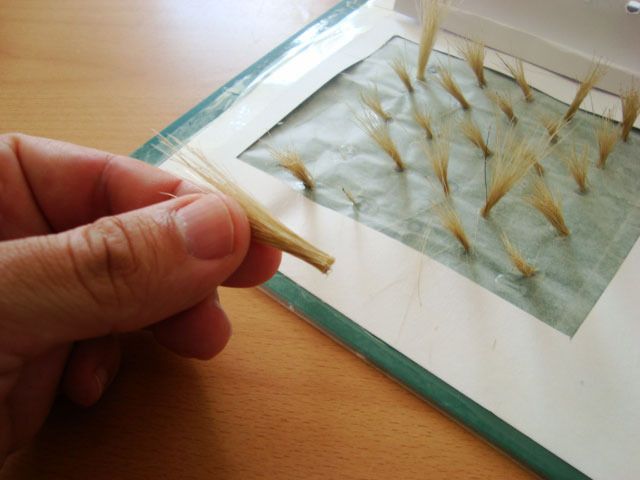
Once PVA is dried you lift the punched paper to reveal the results.


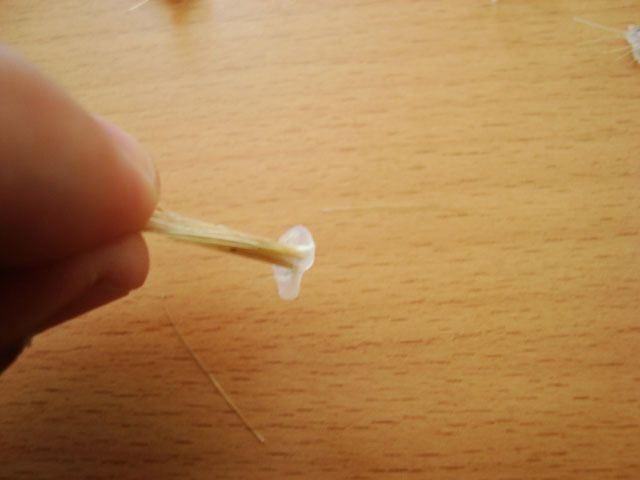
Thats it tuft done!


If some of them have to much glue on the base you make sure you cut off the extra.


Lots of different sizes and shapes.


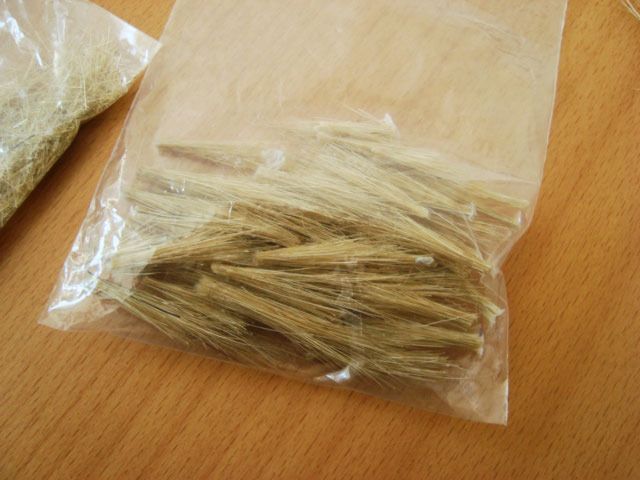
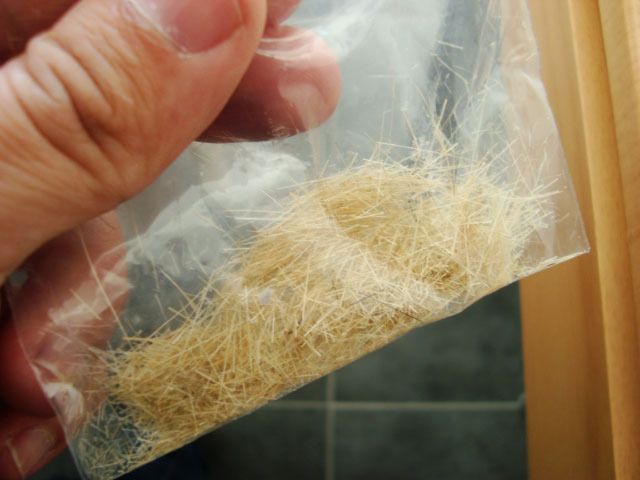
I keep them in a bag and the leftovers I also keep them in a bag so I can use them later on as scatter flock.


You can do plenty of tufts very fast this way.


Sunday, 5 July 2015

Tutorial Sculpting Crab Legs


Introduction
Another little tutorial for my bugs, this time we will concentrate on sculpting Crab legs that can be very valuable for different projects, from crustaceans to insect segmented legs or just a nasty chaos mutations.

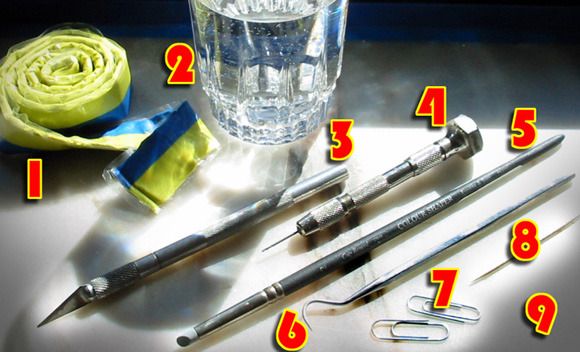
Step 1 (things you need) Picture 1


Modeling putty (green stuff)
Water
Hobby knife (cutter)
Pin vice
Clay shaper brush
Sculpting tool
Paper clips
Toothpick
Flat surface

Step 2 (structure) Picture 2


Start with a strong internal structure, I used a paper clip and bended it to the desired shape. Picture 2a

Mixed a bit of green stuff and applied it directly to the clip, at this point no precautions with smooth or clean green stuff areas are needed. This is just a WIP shape of the final crab leg. Picture 2b


Step 3 (smooth shapes)

After the green stuff is cured its time to start building the final shape, so I mix a bit of the paste and apply it to the structure. It’s better to work on one side of the structure and let it dry before going for the other half, so I started with the left side of the crab leg. Picture 3


Used the clay shaper brush dipped in water and started smoothing the edges of the green stuff, take your time here and use always plenty of water. Picture 4


So, when left side is sculpted and smoothed just let it dry and only then, go for the right side. You can sculpt the shape you wish but avoid it looking too uniform, it’s a crustacean leg so irregular shapes work best. You should now have something like this. Picture 5


Step 4 (spikes and final contour) Picture 6


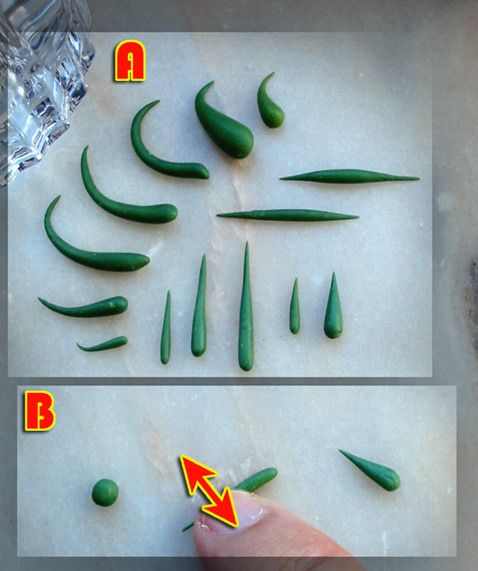
And the fun begins, while the stress of waiting for curing times is growing on you we can use one of those endless curing breaks to sculpt some little spikes, do some random sizes and shapes. And for those that say crabs don’t have spikes on legs I say… who cares it looks great. ;) Picture 6a

I hope everyone knows how to sculpt spikes but for the newt sculptors here is how I do them. Do one little ball of green stuff and put it on a flat surface, then dip fingers on water and start pressing green stuff against surface with vertical movements, just let it dry. Piece of cake. Picture 6b

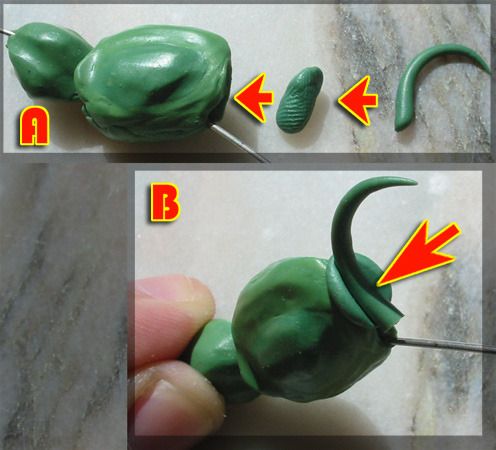
Now, with all stuff cured, choose one cool spike and mix a ball of green stuff... lets use its sticky properties, for “gluing” the spike to the leg. Picture 7

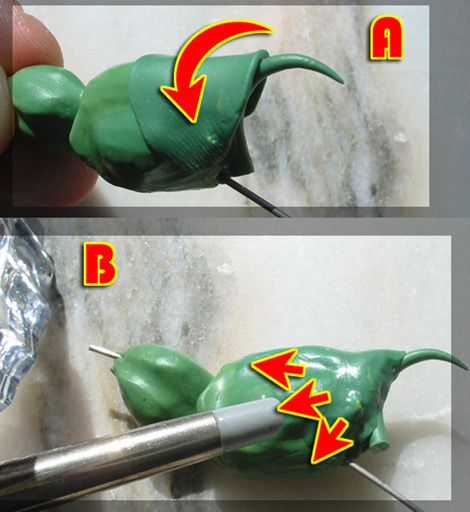
For better blending the spike to the crab leg lay a layer of green stuff over the junction Picture 8a


And for final smoothing use a clay shaper brush dipped in water. Picture 8b

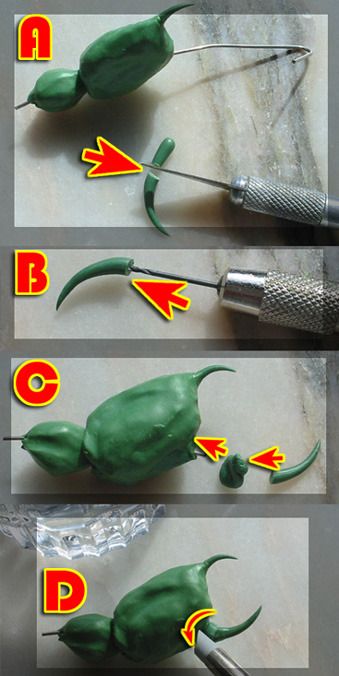
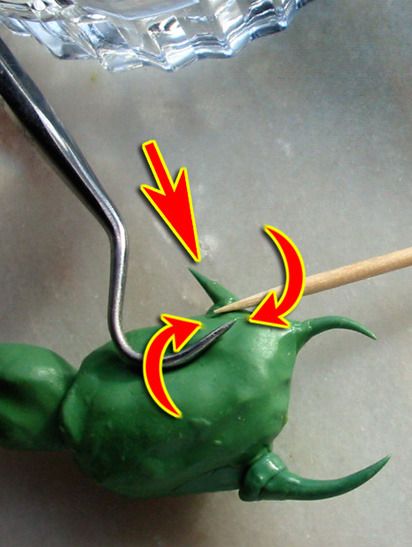
Lets move to the final claw spike and this time we will use the paper clip extremity for a stronger structure. First with a cutter do a cut on another spike and then use a pin vice to do a small hole in it. Mix a bit of green stuff and squeeze the spike against it passing the hole on to the paper clip. This should make a stronger bond, but before you finish you need to smooth the greenstuff with a clay shaper dipped in water. Picture 9


Step 5 (Texture)

With all shapes finished its time for texturing those legs. I started by putting some spikes on the legs, since you already sculpted several spikes just cut them to the desired size and use green stuff for gluing them to the leg. In this process I use mainly sculpting tools and a toothpick dipped in water to sculpt the junction of the spike to the leg. You could also use pins but since the spikes are small there’s no need for that. Picture 10


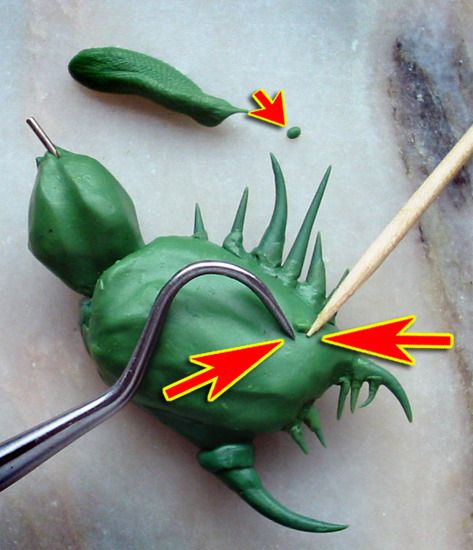
Almost there, now simply cut several random sized balls of green stuff and again with the help of a toothpick and sculpting tool stick and smooth them randomly on the crab leg, also try to make the balls on the leg interesting and natural. Picture 11


Conclusion Picture 12


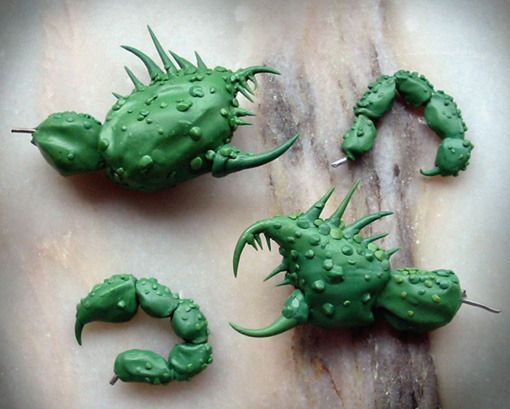
Well that’s it, you can now sculpt some crab legs for your projects, funny thing I noticed was that the smaller legs look like scorpions tails… hope you enjoyed it.


This was another old tutorial that I managed to salvage from my old site, more to come.

Sunday, 28 June 2015

Tutorial what to do with the dried greenstuff leftovers

When your sculpting a project most of the times there will be some Greenstuff leftovers. If its still fresh and you can sculpt something with it you can do plenty of things, little spikes, skulls, mushrooms, purity seals or scrolls etc.
But what to do when its not moldable anymore? Do you trash away the dried bits of Greenstuff?
I tend to use those for something else and again there are lots of things you can do with them, heres one.

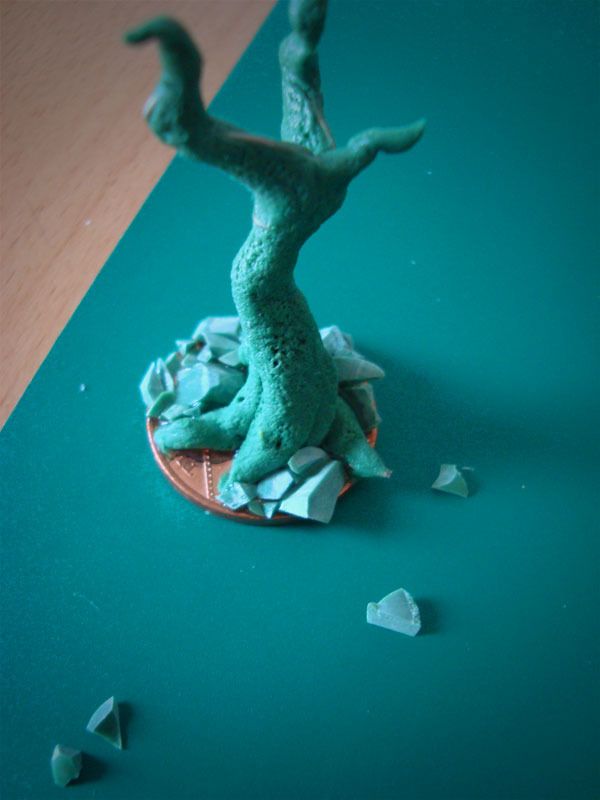
Sharp rocks

Not much of a tutorial and more just an idea for you guys.
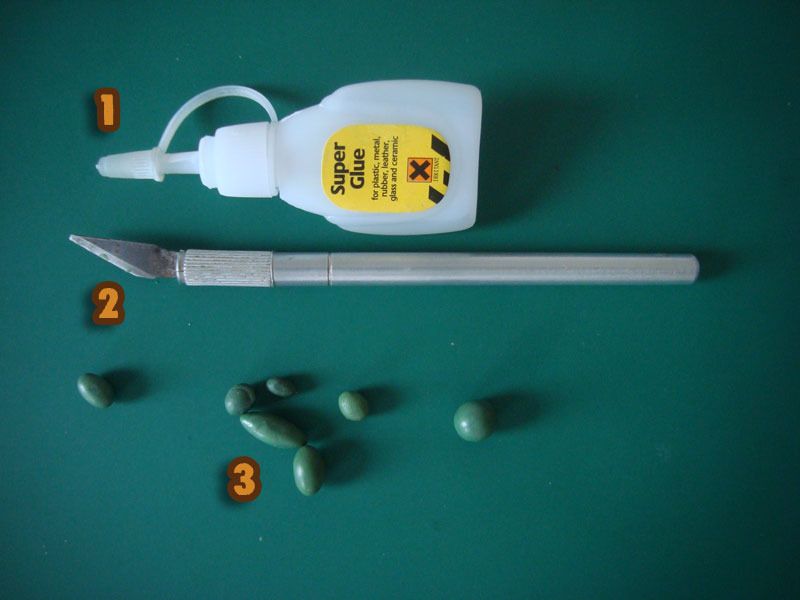
Greenstuff when dried is very easy to cut so bring in your sharp blades.


1- Super glue or PVA glue
2- Blade
3- Dried bits of Greenstuff


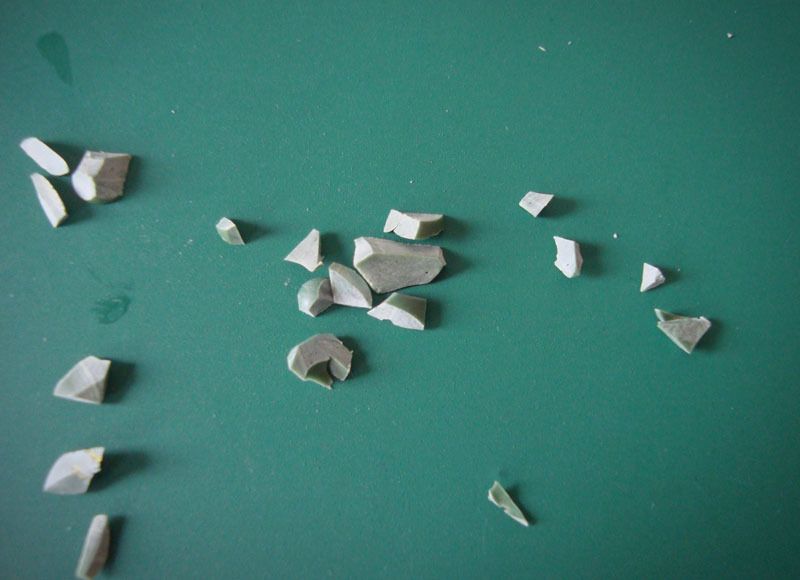
Cut random sizes and shapes, make sure they look very sharp.


Glue the bigger stones first and then fill the gaps with the smaller ones.


Job done.

So why not just use cork? Apart from being expensive and your using free bits of Greenstuff that you normally throw away, the look is very different since cork looks like a less sharp type of rock. You will also struggle to get the fine sharp tips on cork.
Also take this opportunity to experiment, instead of rocks you can cut spear heads, spiked armour and all sorts of sharp things for your models. Again have fun.