Hi guys,
I have just finished another little greestuff tutorial and this time we will sculpt a Whip. These things are useful if your looking to add some spice to your chariot crew or just a beast handler, so lets pick up a paper clip and some greenstuff.
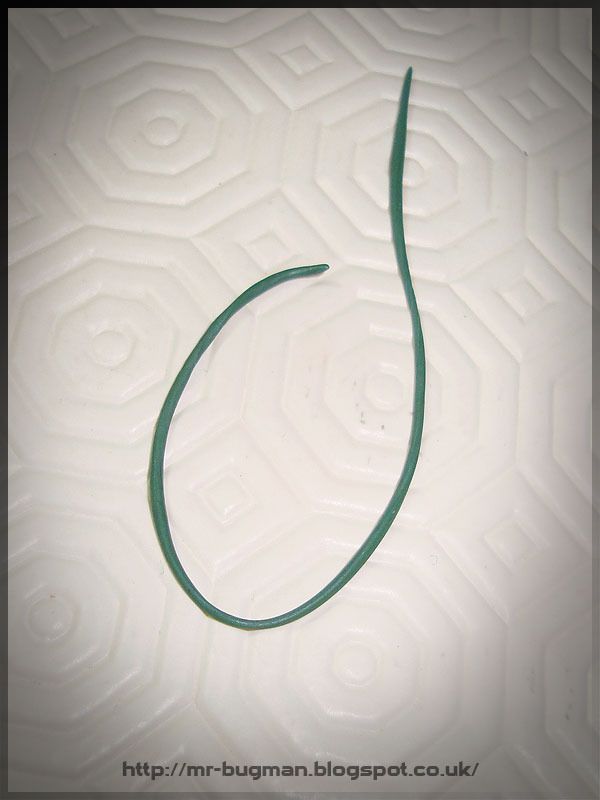
Just straighten the Clip and cover it with greenstuff, try to make it as thin as possible because this will get fatter on the next stage. The reason we do this is because the putty will stick better to putty rather than to the metal. You should end up with something like this.
Let it cure for 2.5 hours instead of the normal 4 so its still a bit sticky and ideal to take the next layer.
So now roll a really thin huge sausage of fresh putty.
Start with the bottom of the paper clip but leave that extremely free of putty because this will be the bit that you will stick to your mini.
The fun begins now. Pick your favorite flat sculpting tool and grab the other end of the paper clip.
With your fingers on the clip you slowly rotate the cured sausage and with your sculpting tool you tap, tap, tap the fresh greenstuff into place. Notice that the fresh sausage is now flat as you tap it into place. Keep on tapping!
As you approach the end of the Whip its good to make your fresh sausage thiner and thiner because it looks better. Grab the clip with a tool to help with the sculpting of the final tip of the Whip.
On the very end of the Whip I wanted some kind of metal thing so I added some miniscule rivets to it.
I will explain riveting with greenstuff later on in this tutorial. Remember do your riveting with fresh putty rivets on top of fresh greenstuff surface so that the bound is stronger and you have more control.
Let it fully dry overnight. Next day things should look like this unless you sculpted under the influence of a good whisky.
Now pick up your mini and drill a hole on the hand that will hold the Whip. My subject is a Orc Bully.
Now you can bend the, covered with greenstuff, paperclip at the angles you choose. I went with some dynamic Indiana Jones kind of angles. When your happy with it you can superglue the clip to the drilled hole but just leave a gap so you can sculpt some more details.
Almost there. Lets finish up the Whip hand grip.
Mix a small bit of putty and apply it to the gap.
Pick a sculpting tool and tap it into place so its stuck to the mini in a way that will not move.
Still looks very soft but because now the putty its stuck to the mini we will use a sharp flat tool to sharpen those edges. First pull it outside then push inside do it many times until you have something sharp.
Only some riveting left to do now, be quick because you want to set them while the surface is still sticky. So make some tiny balls of greenstuf (1), then push them into place(2) and that will make them flat and big. Finally with the fine tip of a sculpting tool reduce the size of the rivet by making circular movements on the edges of the rivet (3).
You can see how the rivets are now smaller and blended into the surface.
Job done.
Pick another bottle of Whisky and watch the putty dry...