
The subject will be some kind of swamp tree with a very mossy and rough texture on the bark, so bring in your greenstuff and lets get this project done.
Sculpting rough textures
You will need the following.
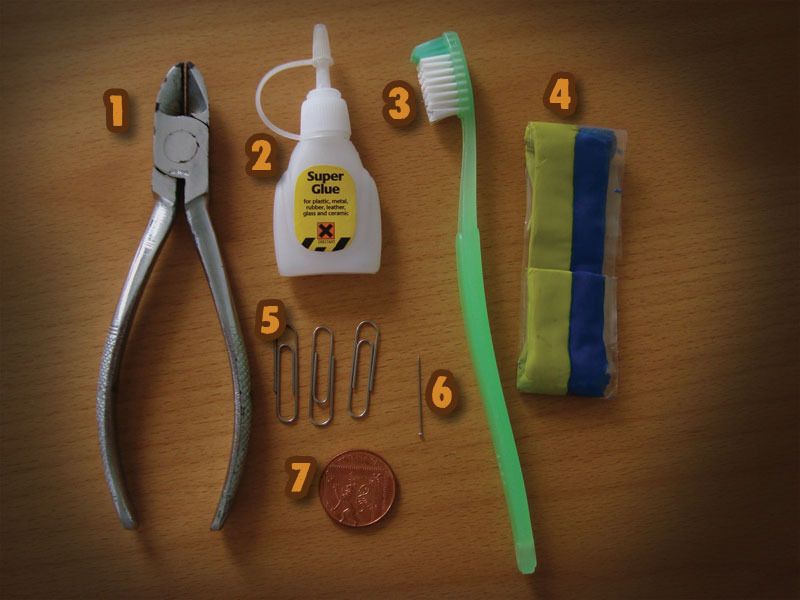
- Wire cutter
- Cheap super glue
- Old toothbrush
- Greenstuff
- Paper clips
- Needle
- A base for your little tree branch, I used a coin
All sorted so lets play with some paperclips now.

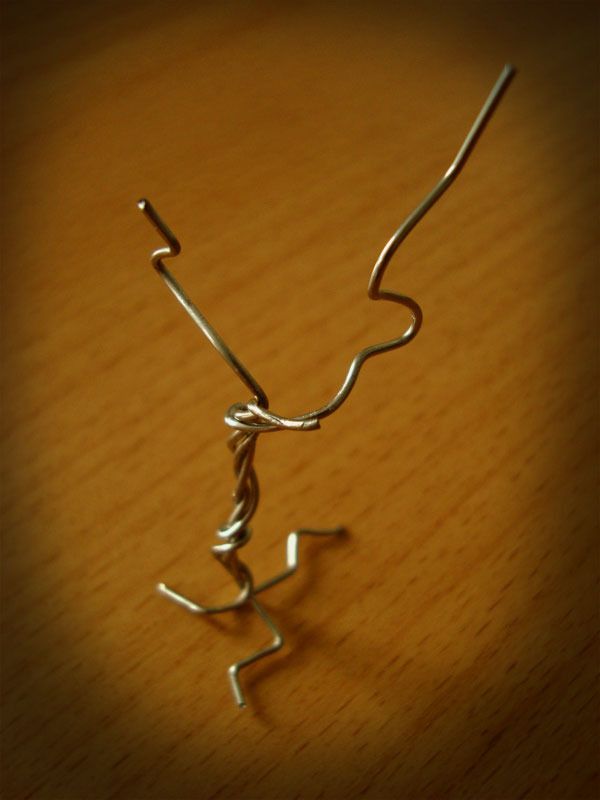
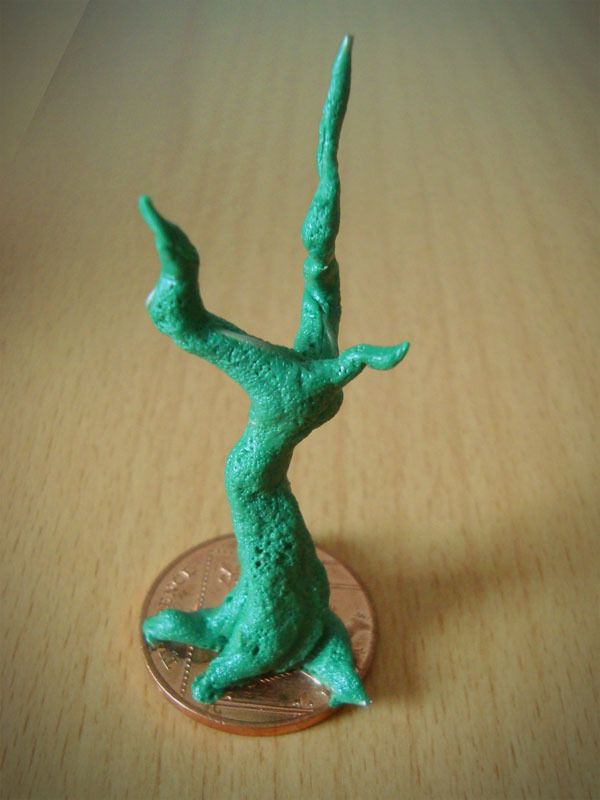
Bend and cut the clips to create the desired shape for our small tree, depending on how big and complex you want the tree you will need more or less paper clips\wires. Since my aim for this tutorial is to display the texture work I just made a really small young tree.
Lets base it now so we can have a good sturdy surface to work on.
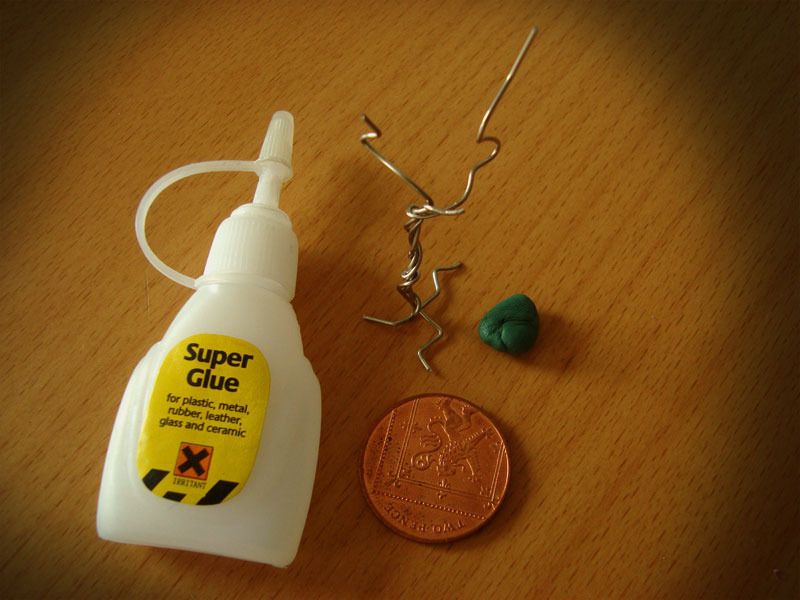
Mix just a little bit of Greenstuff...
Apply a little ball to the coin and use the rest to do some roots, this is really rough stuff so use your fingers and do not worry to much if your fingermarks are printed on the roots.
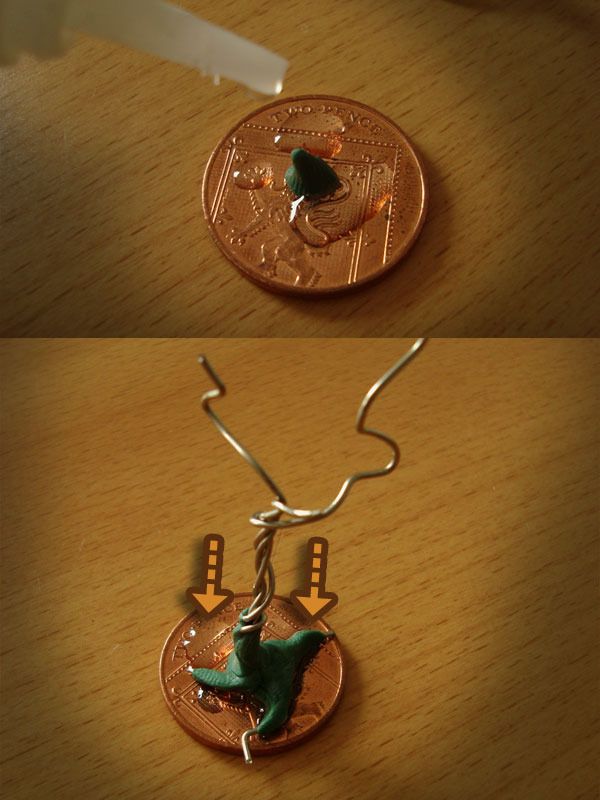
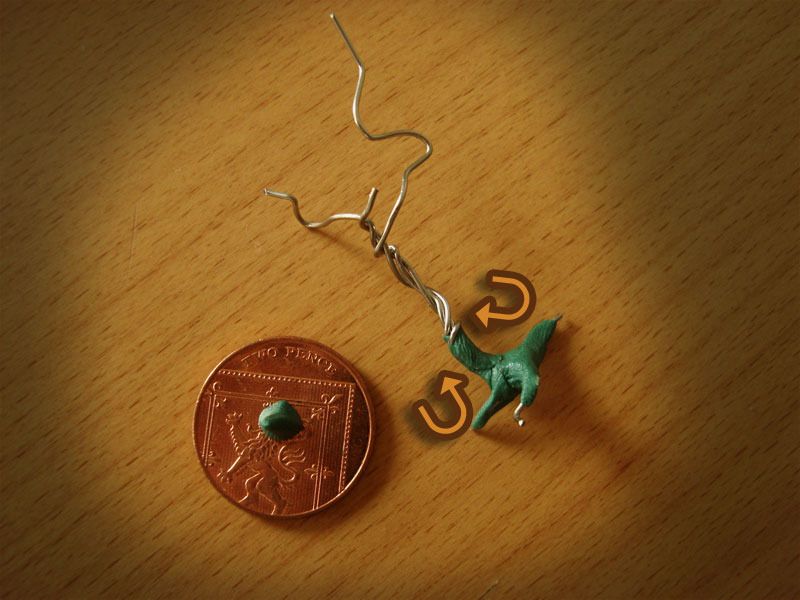
Once your happy with the roots and with the Greenstuff still fresh apply Superglue to join the tree to the base. The bound created by the mix of fresh Greenstuff and Superglue is VERY strong. Let the glue dry before going for the next step.

Mix more Greenstuff and break it in small manageable blobs, these will be your tree curves.

Bit by bit start bulking your tree, as you can notice if you just work one blob at the time you will have more control on the final shape. Note that all of this is just sculpted using your fingers so no need for other tools, we want a rough finish since its a tree after all.
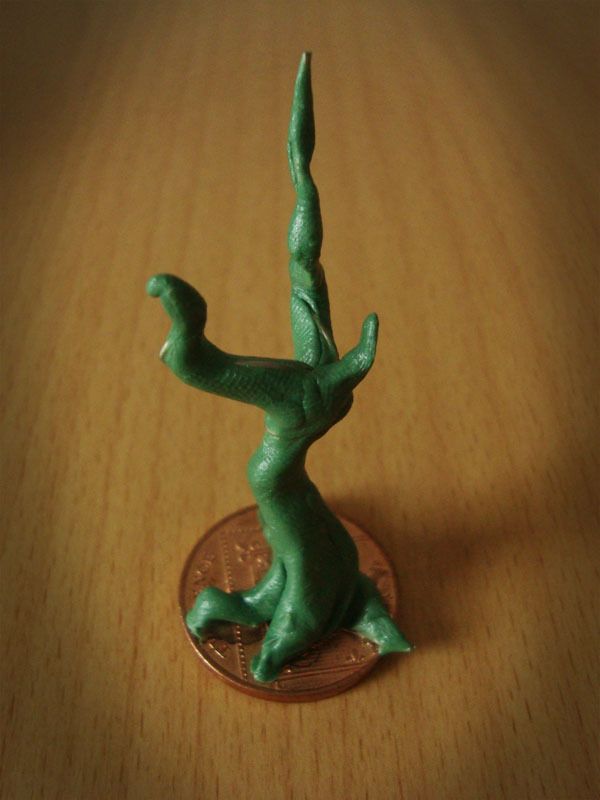
Horrible results so far, hey? Do not despair and lets have fun now.
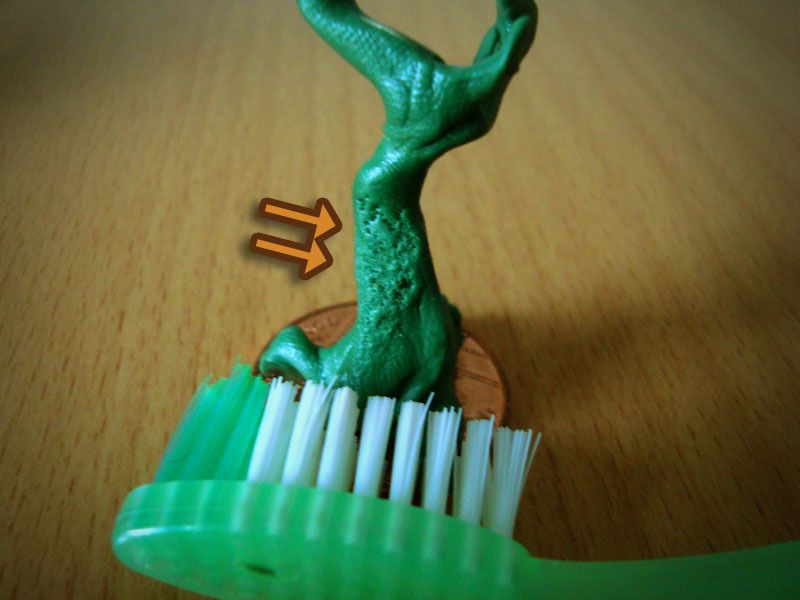
Bring in your secret weapon the mighty toothbrush and poke the Greenstuff! Experiment here, you will see that small jabs will create less deep indentations and vice versa. This picture displays just 2 pokes, one deep and a more subtle one.

Death by 100 pokes and your texture is almost done. Lets just add the final touch.
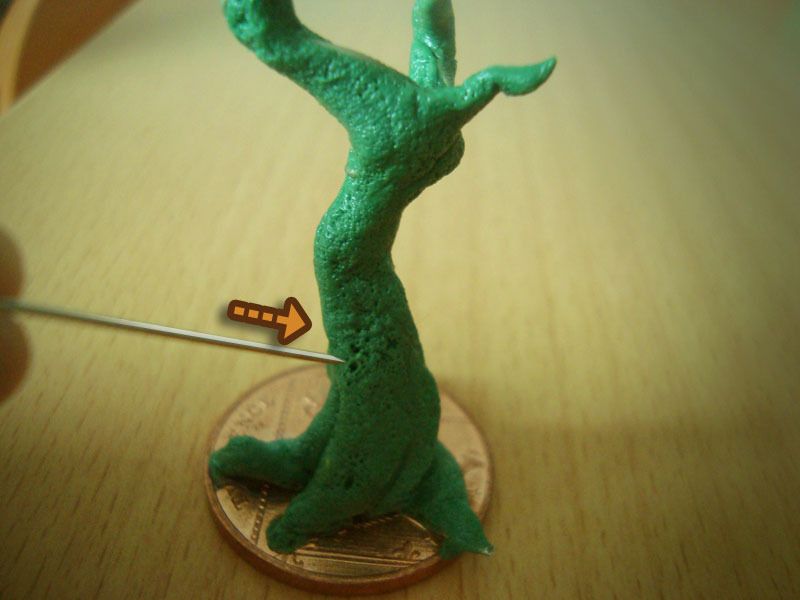
To make the final texture more eye catching use a fine needle and poke the putty again, this time some deep holes. Remember less is more so do not create to many holes.
All done! Simple and easy! You can make a small tree like this in 1 hour. After that you can sculpt more stuff into it like mushrooms, lianas etc but thats for another day. Actually I did a small mushroom tut here Mushi tutorial
So I hope you enjoyed this texture, it has many applications, you can use it to create soil, ugly tree bark or even a strange creature rough skin! Have fun and share your results and ideas.
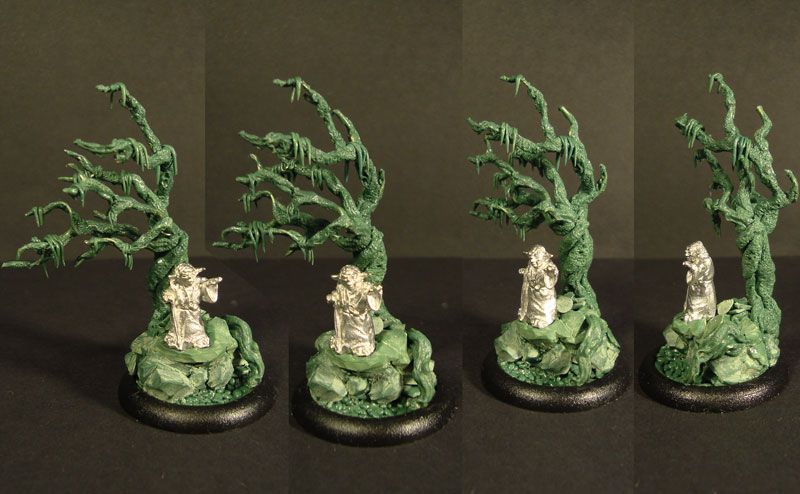
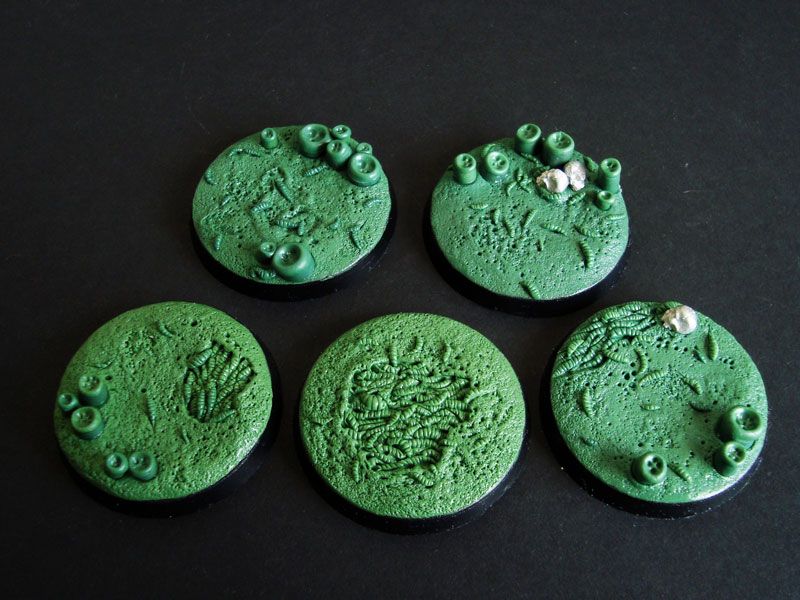
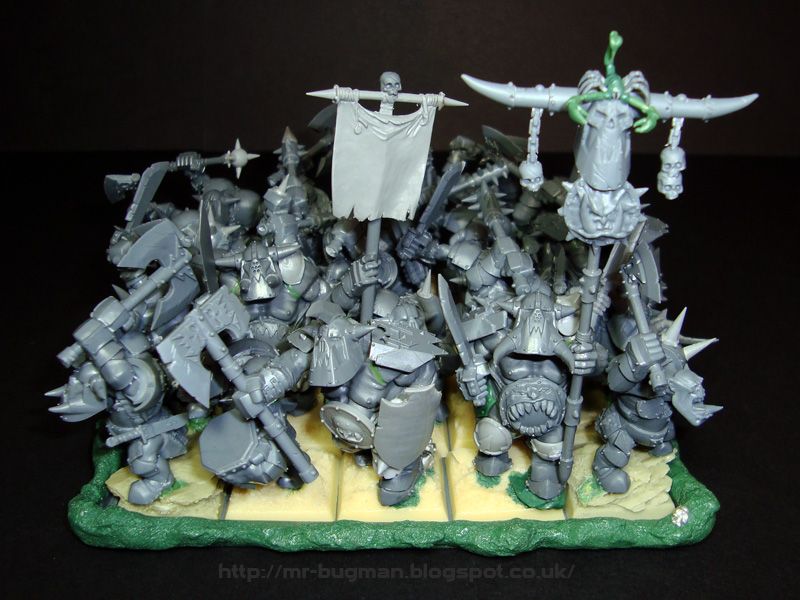
Some examples of how I use this texture.
Yoda tree
Soil for bases
Movement trays
Cheers.
A toothbrush, you say? Great tip.
ReplyDeleteGreat tutorial, thanks!
ReplyDeleteNo worries guys glad you enjoyed it.
ReplyDeleteI really appreciate your professional approach. These are pieces of very useful information that will be of great use for me in future.
ReplyDeleteHi there! Thank you for sharing your sculpture supply and it is great tutorial, we enjoyed it! Thank you so much!
ReplyDeleteI've included this tutorial in my miniature tree making resource database: https://alkony.enerla.net/english/the-nexus/miniatures-nexus/miniature-hobby/miniatures-miniature-terrain-scenery-making-trees-resources
ReplyDelete