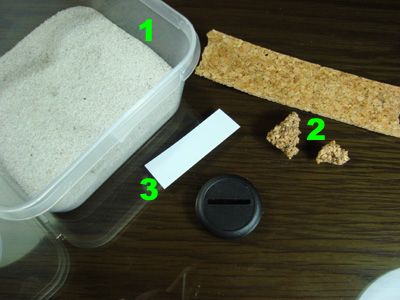
Materials-
1- Portuguese beach sand is very thin ( check aquarium stores)
2- Several types of cork... high grade Portuguese cork of diferent sizes and grain
3- plasticard sheets 0.5mm
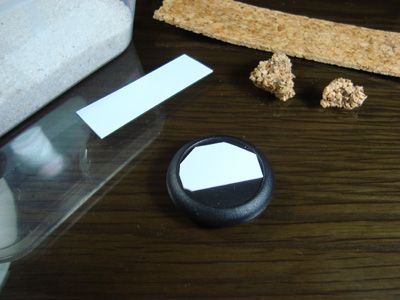
Cover the slot of the base with a bit of plasticard
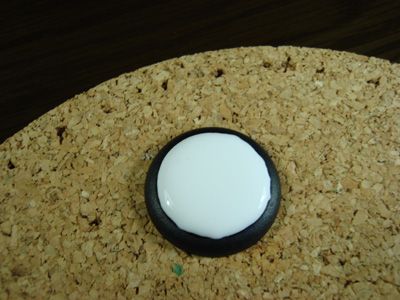
Pva glue all the base gap ( less is more so dont put to much or it will spill)
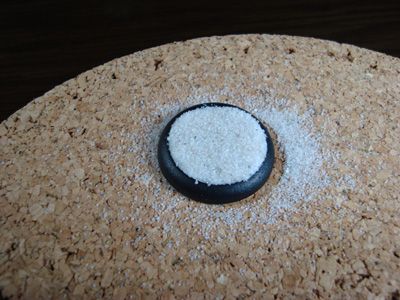
Drop sand on it and let the pva soak everything
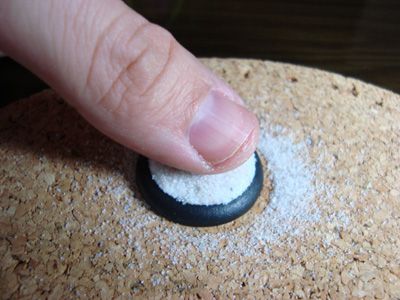
Use your fingers to punch the sand down
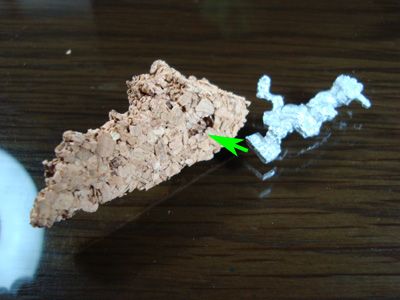
You can pin the mini to the cork or in this case dig a hole on the cork about the size of the tab under the feet.
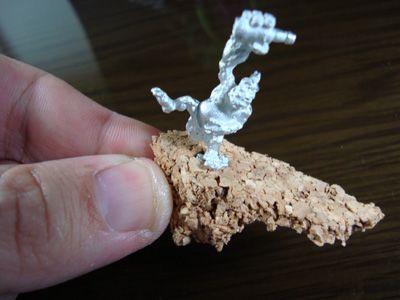
Check if mini fits the cork hole and if the pose is ok ( you dont want a mini looking like its falling down)
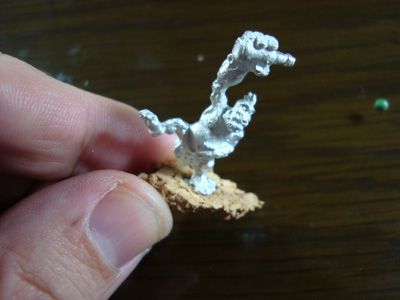
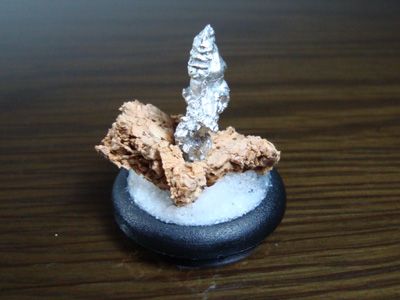
Trim down the cork to fit the base... the good thing about cork is that you can pick particle after particle instead of using a xacto, so it looks a lot more like a natural stone.
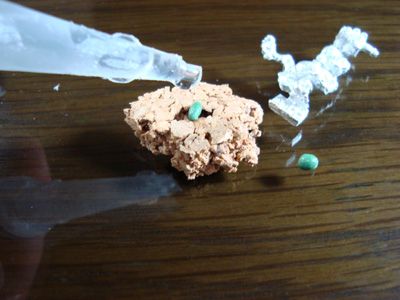
I use small ball of greenstuff and drop it inside the cork hole, a drop of superglue on the hole and then just insert the mini in... the superglue + Greenstuff combo is really very strong.
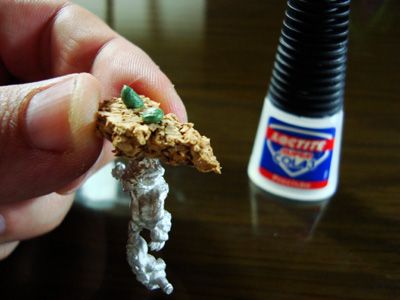
Put some balls of GS beneath the cork and dip everything with superglue
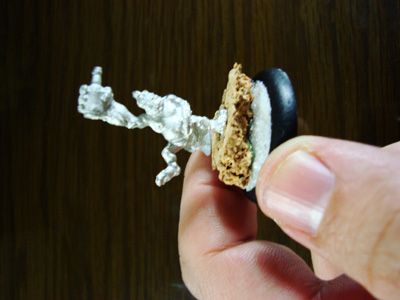
Just press it against the base and you will have done one simple base for gamming ( notice that the pva and sand on the base is still fresh so when you push the cork in you create some interesting levels on the bases)
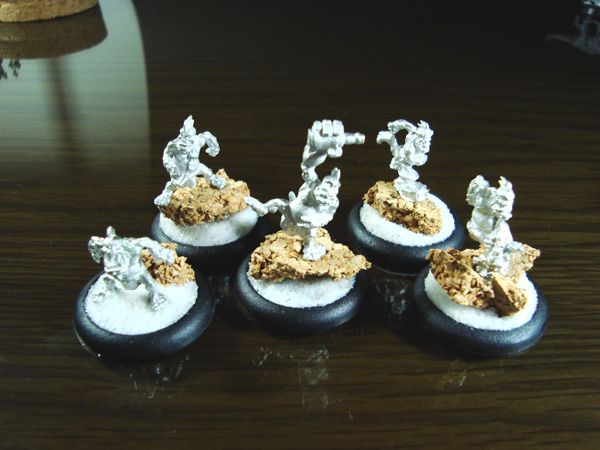
So thats it, you can stop here and you just need to paint and flock them in order to have some very simple gamming bases...
Hummmmmm... are you sure you want to stop? How about going a little step further?
Since you mixed Greenstuff for the Superglue/Greenstuff combo you should have some leftovers there... dont trash them and lets make some small mushrooms, shall we?
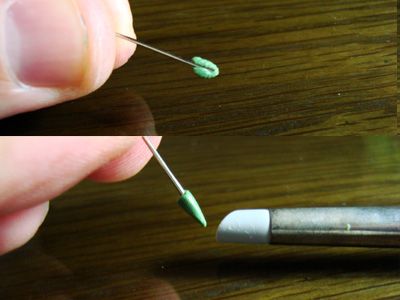
Grab a needle and a bit of GS and with the help of a clayshapper just streetch the GS in the tip of the needle making it like small cone.
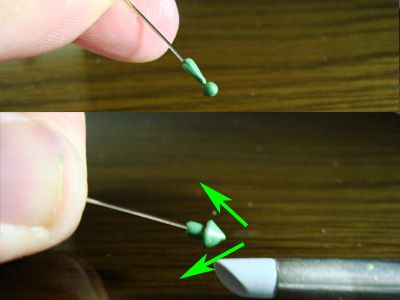
Make small ball of GS and put on the tip, again with a clayshapper and in the direction of the arrows shape up the top of the Mushroom.
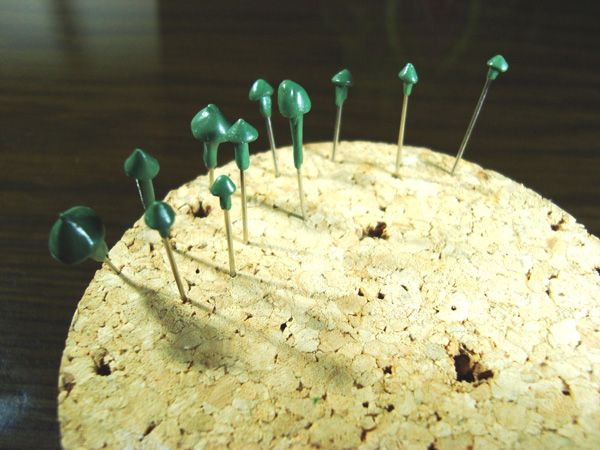
Make diferent sizes and shappes of mushrooms and let it all dry for 5 hours.
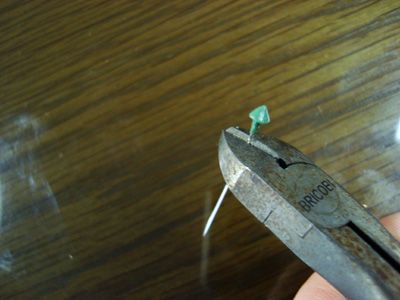
After its dry just cut the neddle to the desired size and drill apin into the sand of the base and superglue the little mushrooms. Try to bend some to funny shappes and also play with diferent sizes of mushi in the bases.
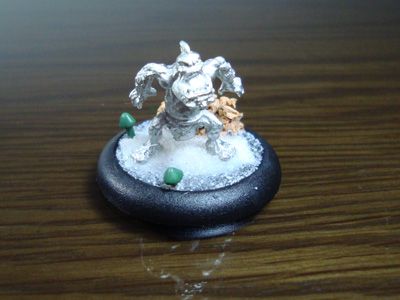
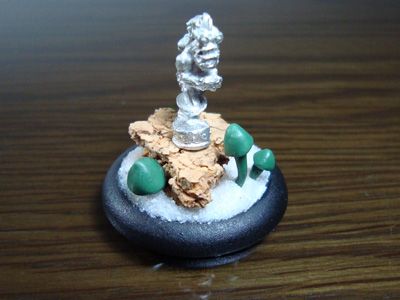
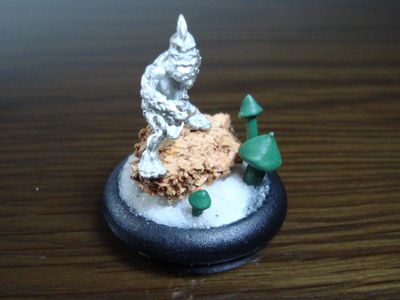
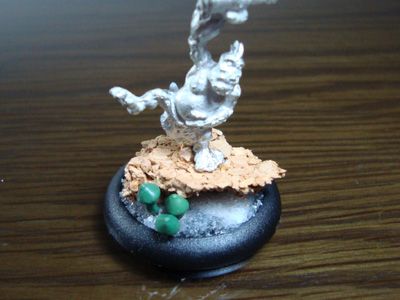
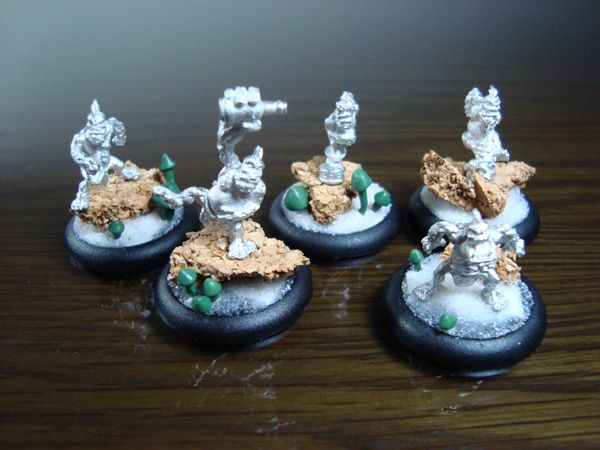
Some bases have several others have just a few mushrooms and one none, just to make things interesting.
Now grab your brushes and have fun painting.
Cheers

Very nice. Any chance of some more scultping tips and tutorials? It's one aspect of the hobbey I really need to work on.
ReplyDeleteFantastic tutorial, thanks Navarro! I like the Trollbloods too.. Maybe they would be good monsters for 15mm fantasy?
ReplyDeleteThe good old GS Superglue trick...
ReplyDelete:D
Great Tutorial.
Cheers
That's a good couple tutorials.
ReplyDeleteOne of the things that I often do for both horns and mushroom stems is place the bit of GS on the needle or pin, place it on flat table, mines a glass table top, and just gently roll the GS back and forth on the pin. The GS will form around the pin/needle. Apply more pressure on the thin or pointed end. Then follow the same procedure that you have done.
@Dangerous Brian I will try and do my best but making tutorials do take a huge amount of time to edit.
ReplyDelete@Spacejacker you and me think alike I was looking at these trollbloods and thinking how they could fit into 15mm games. The size is about right for these Whelps but the bigger trolls are quite large (specially my extremes maulers)
@Mário GS/Superglue never failed me all these years!
@PsychosisPC yes I agree, mind that there's no rights or wrongs on how you sculpt so these tuts are just a kick start to help out people... things can be sculpted using lots of different techniques and tricks, thats the fun of sculpting.
Thanks all.
Nice!!! I will definitely use this for my orcs :)
ReplyDeleteor My Circle ... or my...
I hear that NAV...and second that is the fun. Sometimes its like lots of light switches being turned on when you see someone do or show certain techniques. It opens it up for so many more things.
ReplyDeleteNice tutorial! Thanks for taking the time to make and post it!
ReplyDelete